Do-some-of-it-yourself backyard revamp

It’s been 55 days since I declared the start of Project Back Yard, Take 2. I had hoped to be sipping mojitos out there by June, and you know what? That is exactly what I did last night. So although it was a helluva lot of work and construction has been consuming all my leftover energy, I am calling this project a success. Here’s a look back at an 8-week, low budget revamp of this tiny rowhome “yard.”

Step 1: The fence
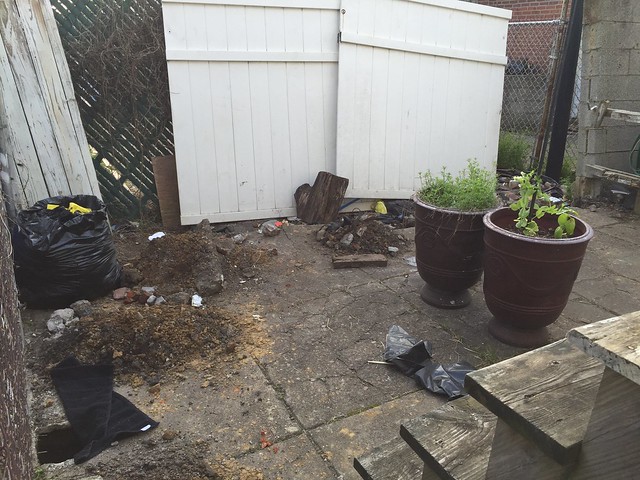
Nope nope nope.

This was the most important part of the job, and one I couldn’t pull off myself. I needed a good contractor. My initial round of googling resulted in a guy coming to my house and commenting that he “couldn’t leave his equipment unattended in this neighborhood,” but promising he’d email me a quote. Stop me if you’ve heard this one before. He never answered his email or phone again.

Can I rant here for a sec? People. Port Richmond is not dangerous. It’s not trendy, that’s for damn sure, but there’s absolutely no reason I should be hearing “why do you live here??” from so many of my contractors. A) It’s flat-out unprofessional, and B) I’m paying you to install a fence, not review my life decisions. If you have concerns about my neighbors who work as plumbers and coach little league, do us all a favor and keep them to yourself.
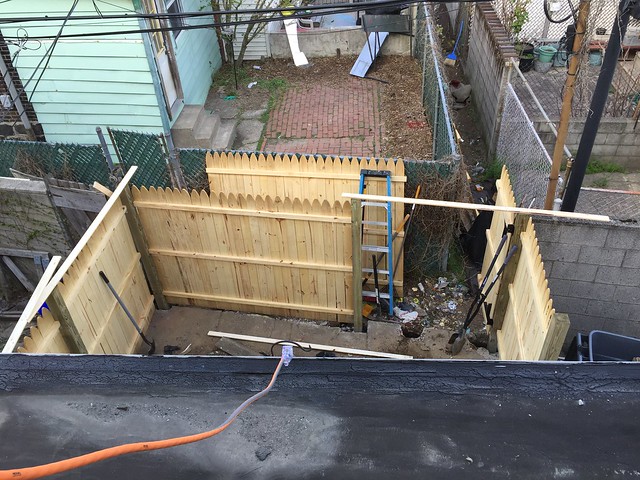
I eventually found my contractors on Thumbtack, a site where you post the work you need done and receive bids on the job. I only received one bid, so I can’t vouch for the site being a solution for every situation, but my guys came out next-day and had the fence up within a week.
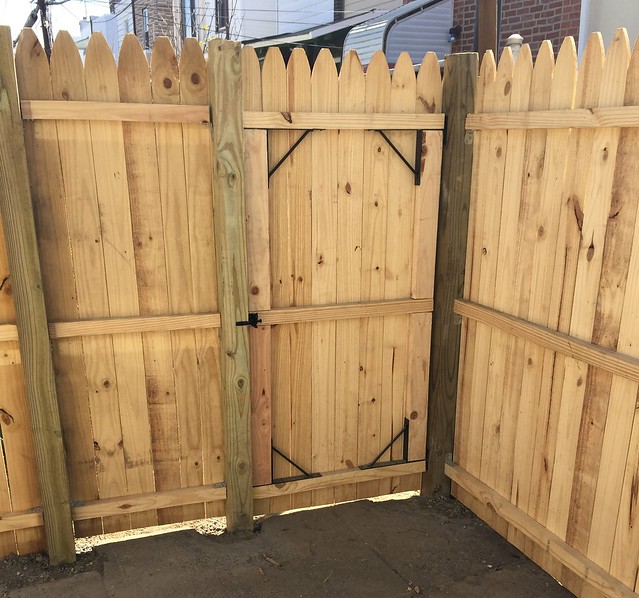
They made me two cute little gates: one to hide the breezeway where my drain, trashcan and gardening equipment live, and they moved this one — the main one — away from the ideal planting locations. They also rebuilt my stairs for free.

Cost: $1,300

Step 2: Cement
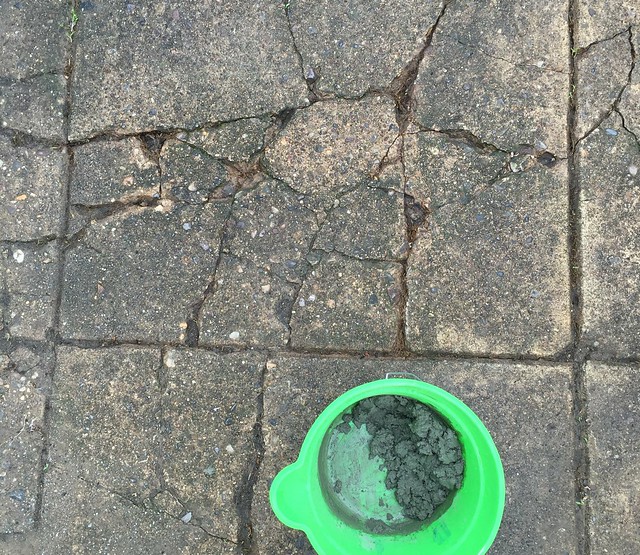
Step 2 was grueling. My existing concrete was level enough, but old and cracked and in all-around rough shape. It quickly became obvious that a patch job wasn’t going to cut it. So I decided to pour new cement over the existing slab.
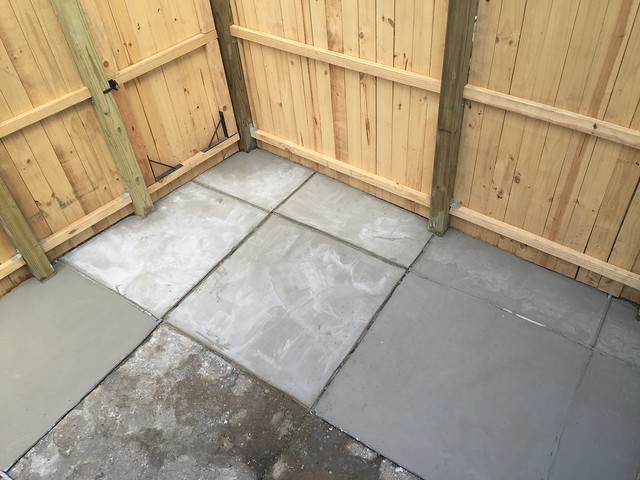
Did I know what I was doing? Nope. Do I know that this won’t eventually crack again? NOPE. It probably will. But this solution had two clear advantages for the time being: it was inexpensive, and it was DIYable. I went one square at a time, recreating the divisions in the original slab by bounding each square with foam strips until the concrete had cured a bit. Then I rounded any rough edges with a sureform.

A few weeks later, everything was dry enough to give it several coats of concrete stain.
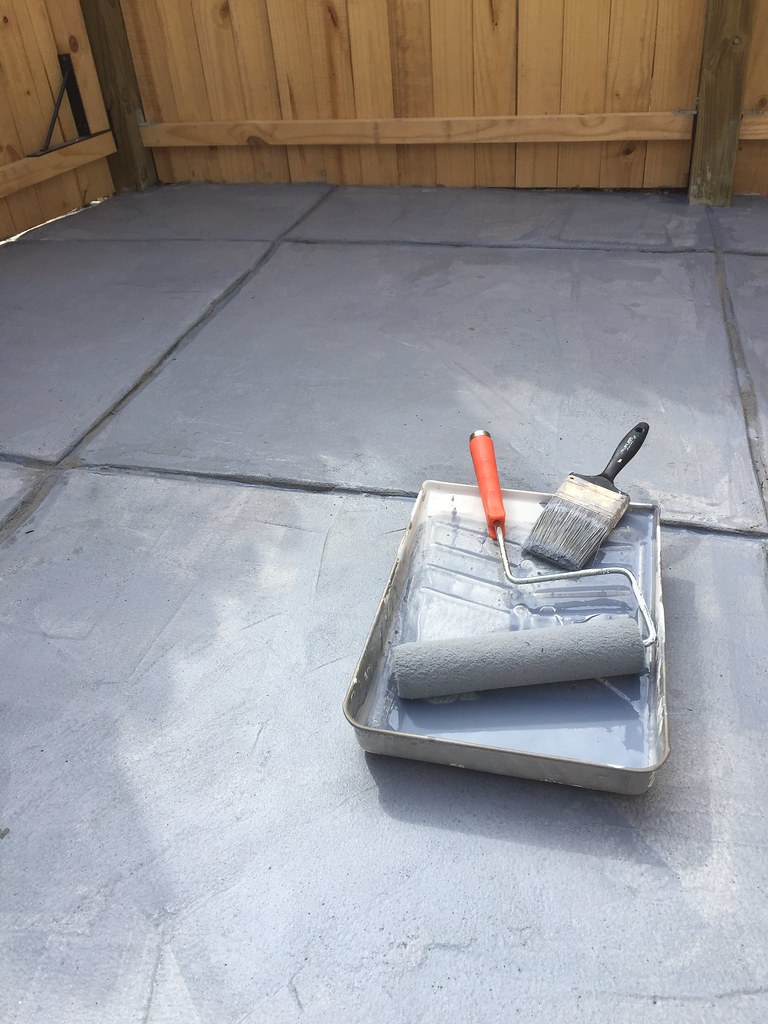
Cost: $165; lots of calories

Step 3: Planting

My original plan was to figure out a way to DIY a big planter box so I’d have a home for some perennials. And as luck would have it, the fence guys left a section of unused fencing that was just screaming for repurposing.
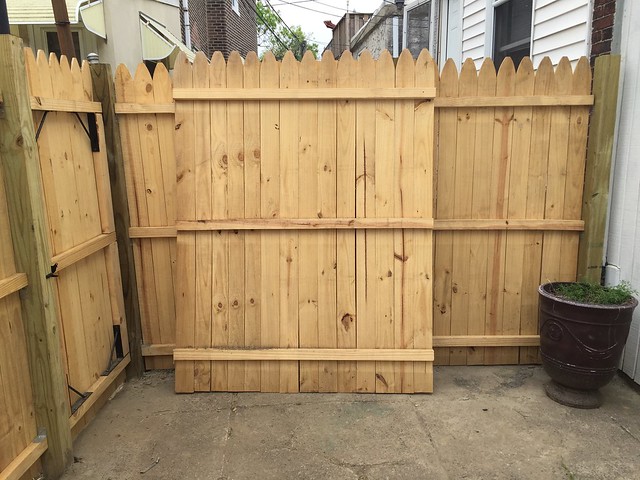
USE MEEEEEE.

The process was super easy. I basically removed a few planks, sawed the rest of the sucker in half, trimmed off the ends at their cross braces, and used the free planks to build the sides. The boyfriend was here for plating day, so he assisted with installing a false bottom and lining the box with plastic sheeting. Cost: free. Although I did make us dinner.
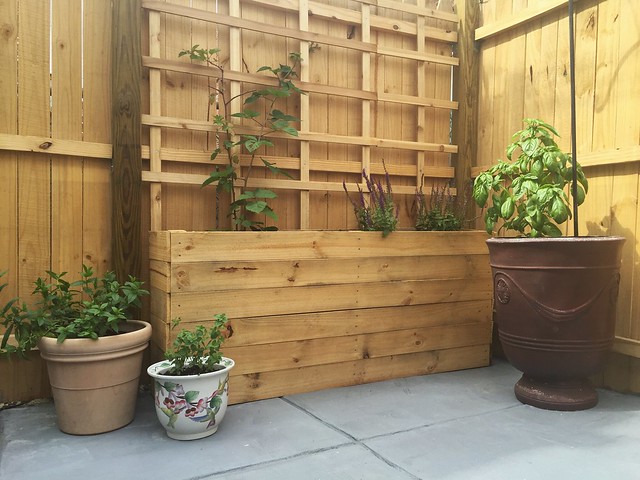
I wanted my planting choices to be economical: stuff I’d use, stuff that was inexpensive, and stuff that will hopefully come back next year. In the sunniest corner we planted blackberry vines, which should spread out nicely over the trellis we installed.

Also in the box: sage. It’s already attracting butterflies and bees.
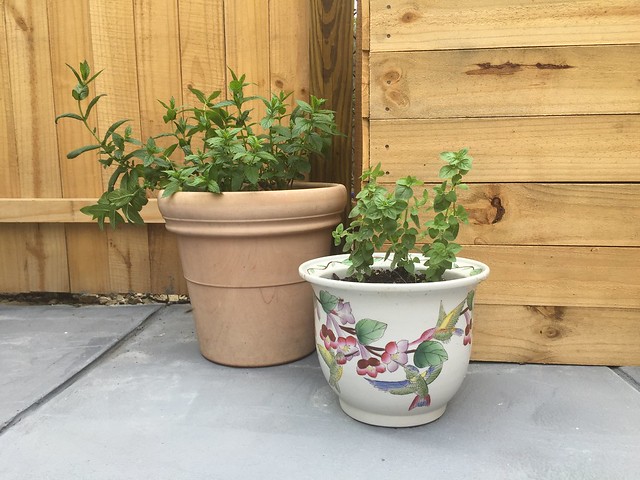
The mint is from my father’s garden. The oregano was one of the only things to re-seed itself in my previously-neglected yard.
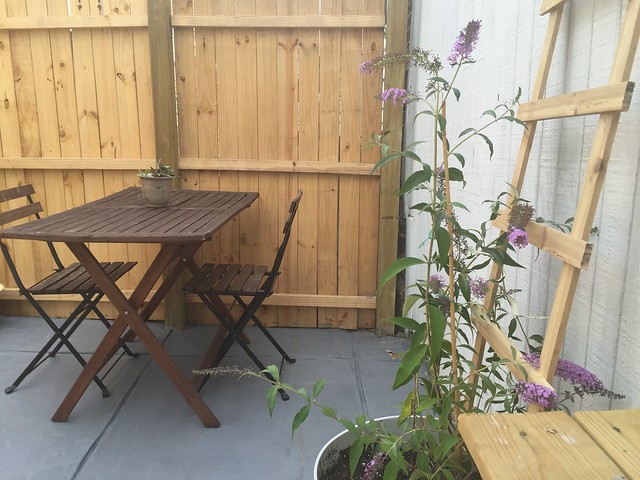
I wanted a buddleia, too. My mother always had one when we were kids, and I had one little section of trellis left to offer it some support as it grows in.
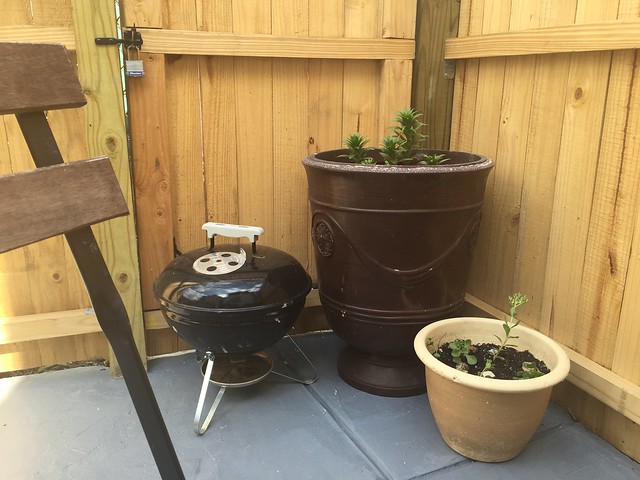
This corner is a bit of a catchall for whatever else was donated to the back yard makeover effort. The baby lillies are leftover bulbs from my father, again, and the sedum are cuttings from his garden as well.
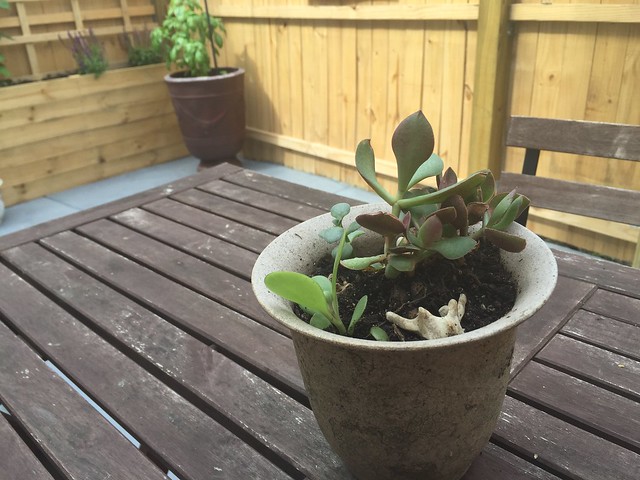
The succulent is a rescue from my office. I added tiny deer vertebrae because, you know. Why not?

Cost: $145

And there we have it!
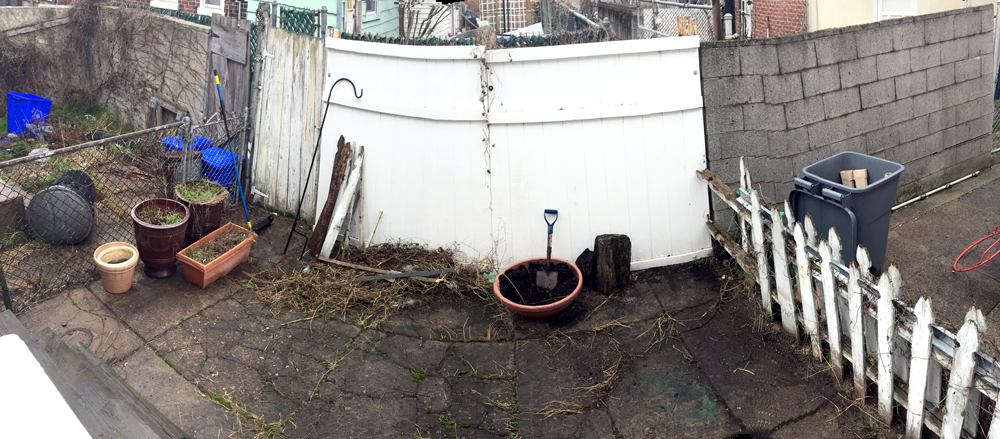
Before
After. Panoramas don’t make straight lines.

Total cost: $1,610. Definitely worth it for a whole new usable space; it may be small, but there’s room enough for yoga and reading and dinners outside. I didn’t realize how much I missed having a little privacy back there until the fence went up. No offense, fellow Port Richmonders.
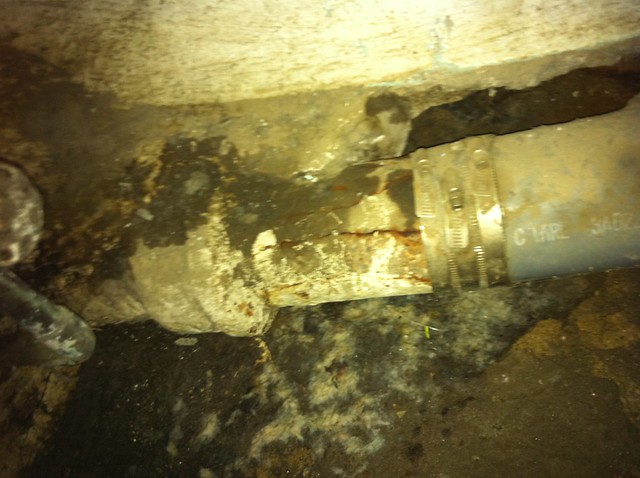
At least I got this cool new patch!

I think there ought to be a series of merit badges you can earn as a first-time homeowner. So when, after you’ve spent an entire day scrubbing bathtubs and sinks and floors, you run a quick load of laundry down to the basement only to discover that all of that water has been forming some kind of horrible-smelling basement bog all day long because the waste main has cracked, you get a little something nice for your trouble.

Thankfully, I have not yet earned the “contractors ripping you off” badge. The plumber who came out to plug the leak late yesterday was awesome. A more permanent fix is hopefully coming later this week.

Did I mention I’m also getting my cornice redone? Because the hurricane ripped part of it down and the wood is too rotten to repair without redoing the whole thing?

It’s OK. I don’t like having money in my savings account, anyway. Plus I’m working towards my bankruptcy merit badge.

Day 29: Close, but not there

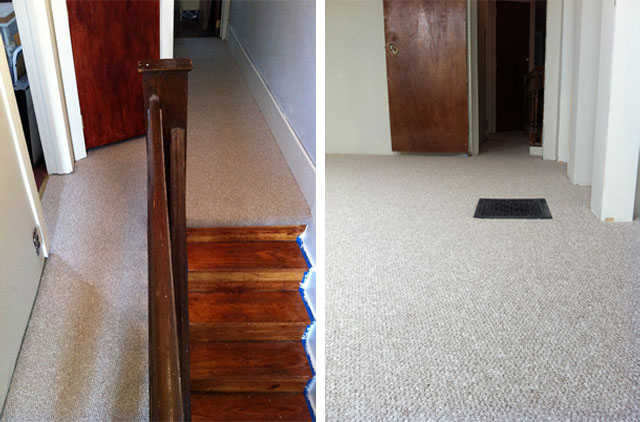
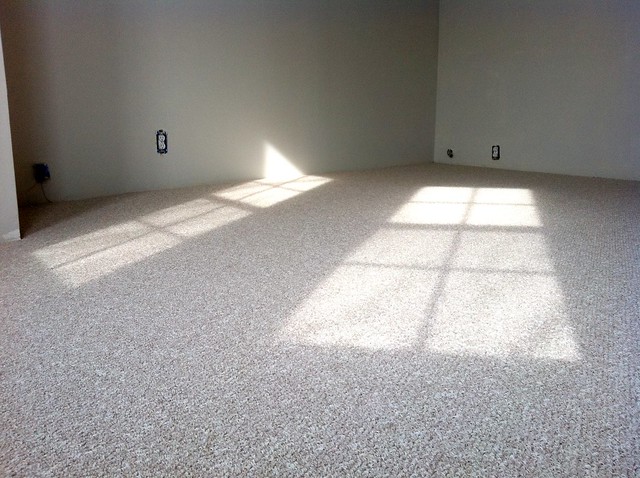
Well, the carpet is here!

I like the texture and the pattern. I like walking on it. I’m sitting on a pile of carpet remnants right now.

The color, though, isn’t perfect. I was hoping for something a little darker and a little cooler. The warmth of it works well with the wood tones in the house — and it’s actually inspiring me to try to fix up the laminate floors in the other two bedrooms because the color coordination in the thresholds is so nice (I don’t have a picture of this, so you’ll have to trust me). But unfortunately, I think the carpet color is not playing nice with the bedroom wall color. They’re similar in shade but different in temperature — one a little cool and one a little warm — which makes them buzz against each other unpleasantly.

I think the (cheapest!) fix for this is to brighten up my wall color, from a pale gray to a maybe-even-slightly-paler tan. The color I experimented with in the second bedroom might actually be the right one:

Subtle difference, I know. Even the names of the colors are similar — Silver Leaf as opposed to Silver Drop. And it’s going to be a pain in the butt to repaint. I’ll do a test patch soon and see if that moves me to tackle the job.

Honestly, I’m running out of steam on this bedroom renovation. Instead of working on tying up loose ends tonight, I’m sitting by the TV and debating whether my next course of action should be taking a bubble bath or consuming a plate of bacon. I suppose the answer is “both.”

Day 18: Poor floor

Huh.

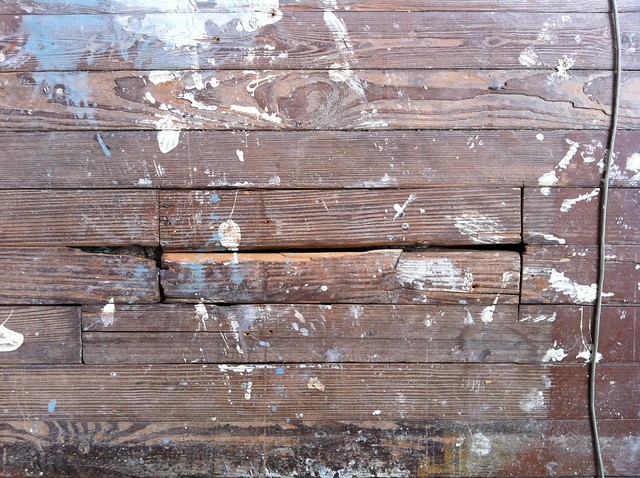
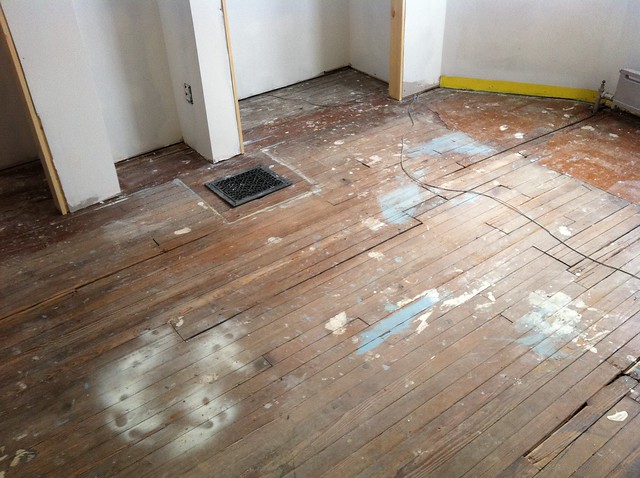
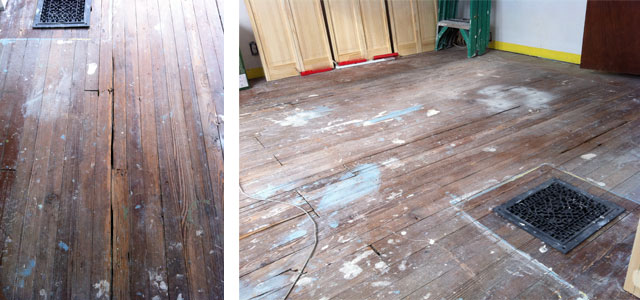
The guys ripped out my old bedroom carpet for me. The floor beneath it is in surprisingly bad shape.

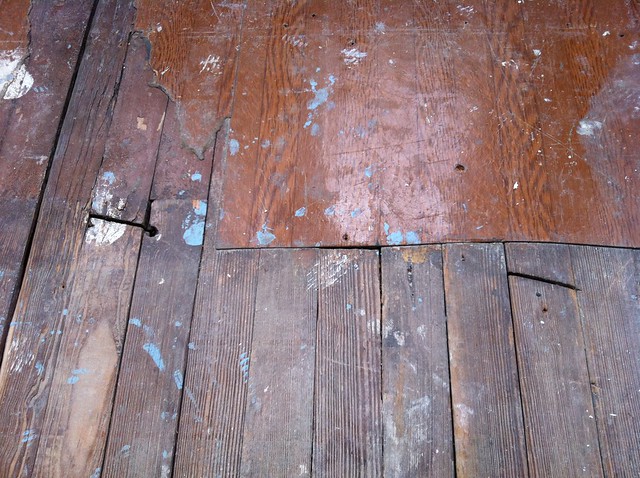
It may actually have more gaps than my living room floor, which I joke is more putty than pine. It could still be fixable, but in the end I think I’m glad to be going with carpet. At least I won’t have to worry about the refinishers taking the easy way out and not properly replacing all the broken bits.

WHAT on earth were these people sawing for?

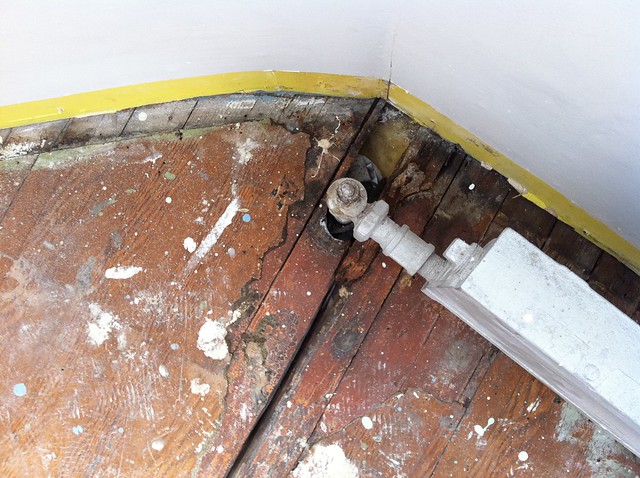
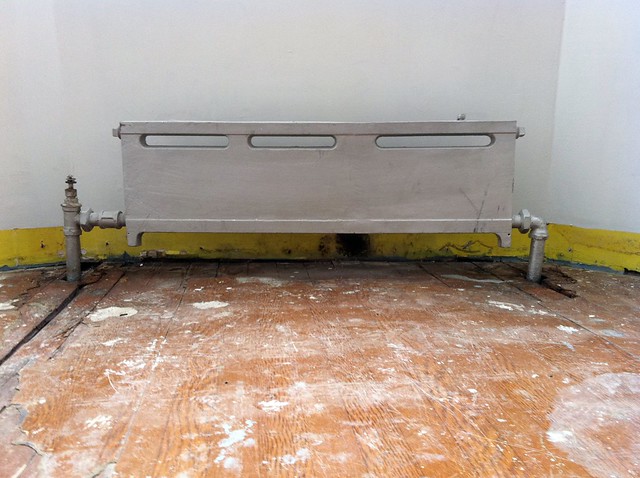
Ugh. The radiator. The radiator may need to go. And I may need to ignore this problem until next winter.


/farm6.static.flickr.com/5255/5398321831_d22d1fc028_z.jp

Day 16: Snowtorius BIG

I can’t take credit for the title of this post. I heard it on Wait Wait…Don’t Tell Me.

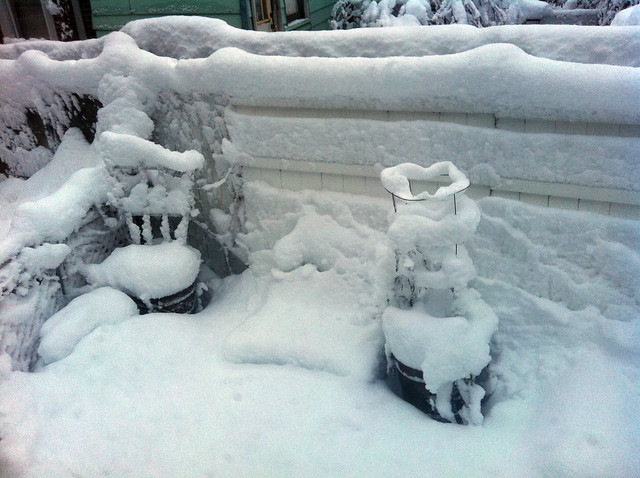
The contractors will be delayed another day due to this unfortunate situation:

That puts our new target finish date at Monday the 31st. There is still a chance that the carpet installer could make it out here today to take measurements, but I doubt it. There’s no way anyone in this neighborhood is leaving a parking space without filling it with random lawn furniture.

I have a coat of primer, though!

OK, time to start my work day from my…bedining office.

Day 14: We’re getting there

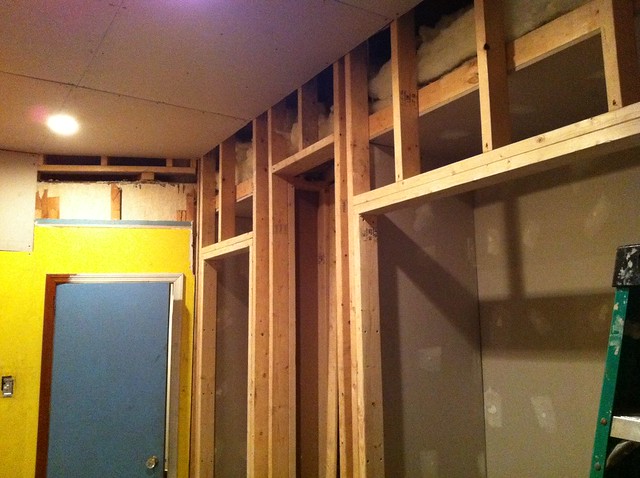
The contractors are making progress, but it looks like they’ll be with me another week or so. Plus I’m told the carpet could take up to three weeks to order and install. So right now I’m breathing deeply and trying not to get too fed up with my bed-dining room (bedining room?) situation. There is light at the end of this tunnel. And it will shine down on adorable built-in bookshelves.

I have decided to behave more like a real blogger and, you know, actually arrange my images in a way that fills my blog layout. And doesn’t funk up my RSS feed. Also, I’m going to (try to) color correct them. This will not save the fact that half of my pictures are taken with my phone in the dark, so I don’t know exactly why I’m bothering except that I feel peer-pressured by other home design blogs.

Let’s get on with it.

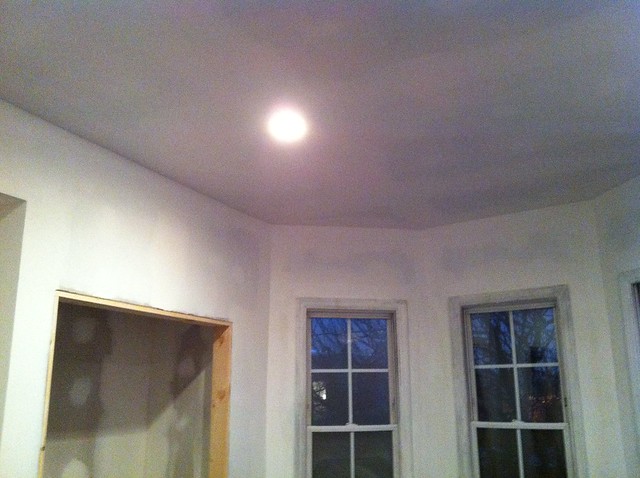
Things are looking pretty solid in the bedroom! The first three pictures were taken tonight, but the final one was taken during daylight hours yesterday. With the green awnings down, the room is so much brighter.

And I have a great view of Center City!

See it? Way off in the distance? Calling to me with its promise of coffee shops and cocktails and clothing stores that aren’t Forman Mills? “I’m merely a slow trolley ride and cumbersome transfer to the El away!” it says.

Sigh.

Things are also happening in the second bedroom, where you may remember I crowbarred out all of the closets, got exasperated and left the room for dead.

The guys are slowly patching things up. A little sanding, a little paint, a little trim, and we’ll have added another two feet to the size of the room. I can’t wait to hang art!

Day 11: A room is born

YES.

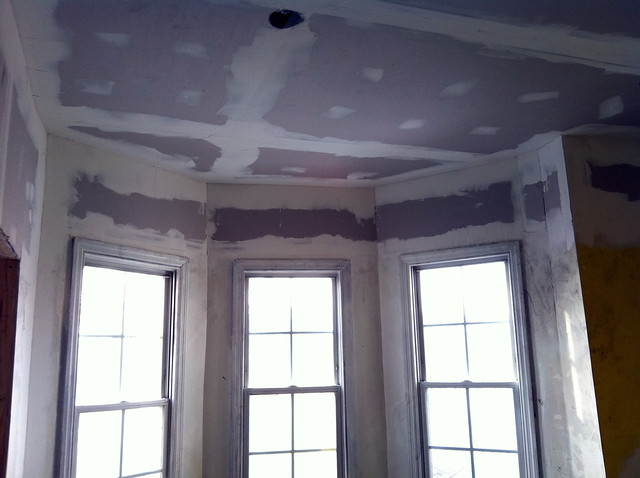
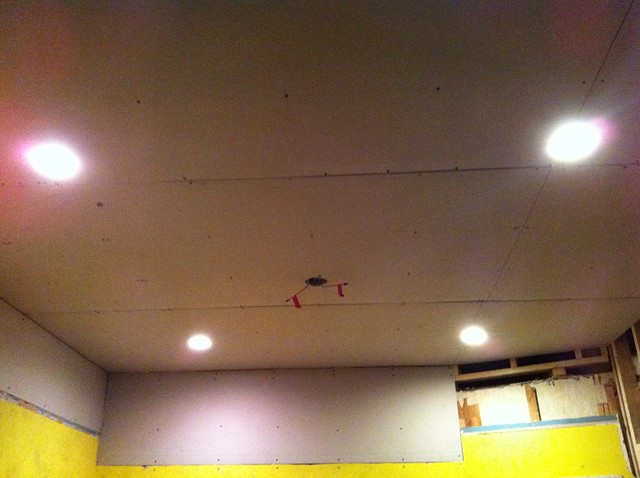
The bedroom is totally starting to come together now. Almost all of the drywall is up and I have some recessed lighting. I also picked out a ceiling fan (which was really difficult, given the very grandmotherly designs available at the big box stores), and that should be installed soon. Then we do spackling and priming and trim and doors.
The guys are actually coming in a little under budget, although that may change since I have a feeling they’ve put in some long hours this week. But I really hope to have a little money left over. Closets aren’t any good if you can’t afford the organization system that goes inside them. Also, the crew found some active knob and tube wiring running through my second story, which is bad (and expensive) news. This comes of the heels of Dad discovering a few weeks ago that none of my grounded outlets are actually grounded. We’re kicking the can down the road a bit on that repair.
But let’s end on an positive note. Like many old Philly rowhomes, my house had aluminum window awnings. Green ones. You ever heard the wind whipping through these things, especially if their wall anchors are loose?

I won’t have to hear it any more.

Day 5: Bedroom Update

We’ve made it through the first working week of this bedroom renovation project. A few days ago, demolition had progressed to this point:

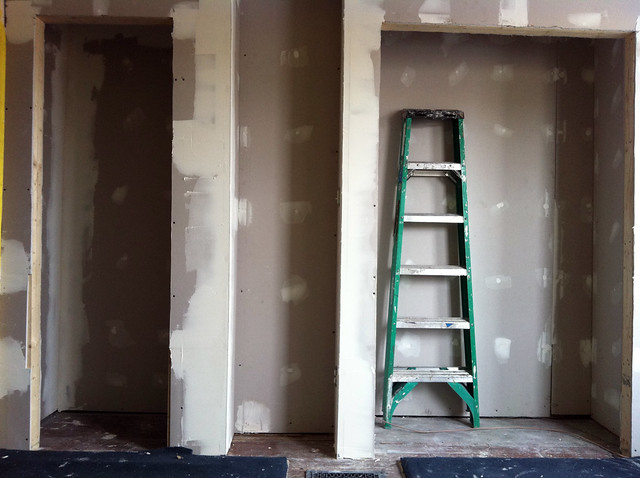
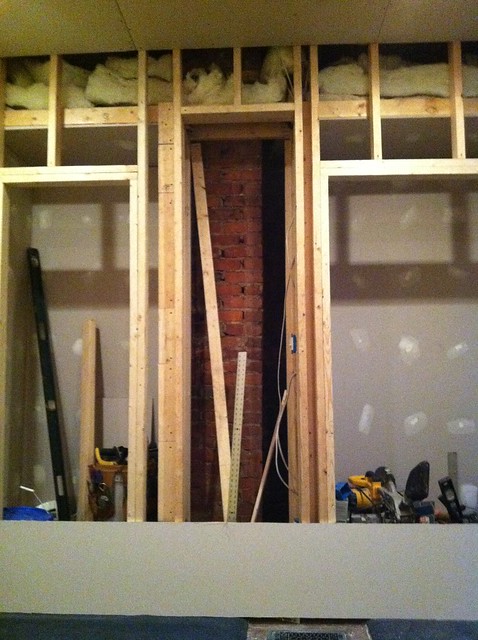
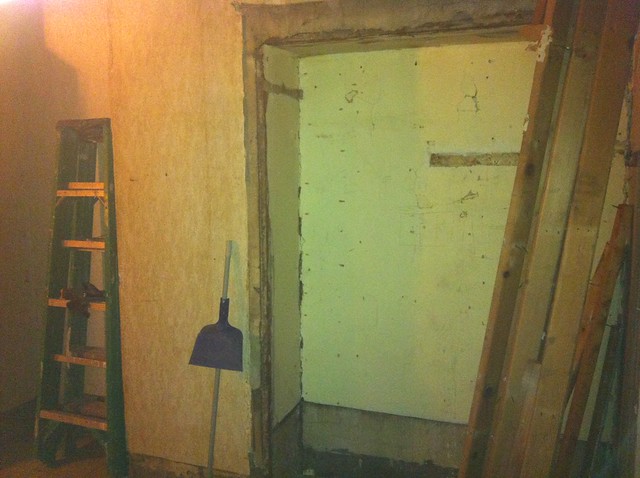
That’s the original “closet” from when the house was built in 1920. It’s too narrow for hangers, so mine had been made deeper by building out a wall in front of it. Still, I thought we’d have to work within its general length and height, but I came home today to find this:

Bam! Gone. Later, 90 year-old closet! Looks like I’ll have plenty of room from now on.

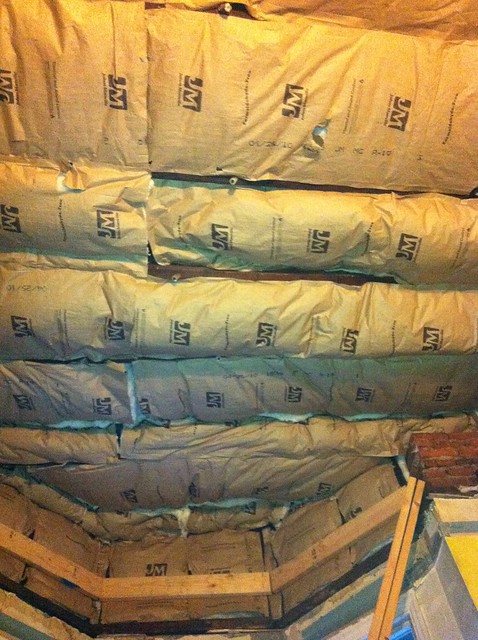
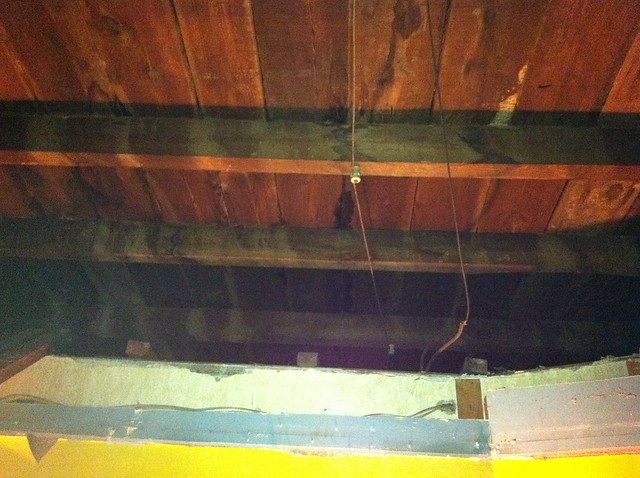
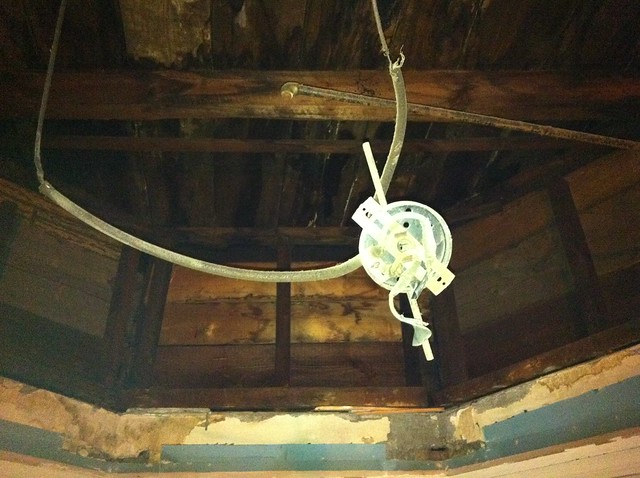
And here are some (more) ceiling pictures:

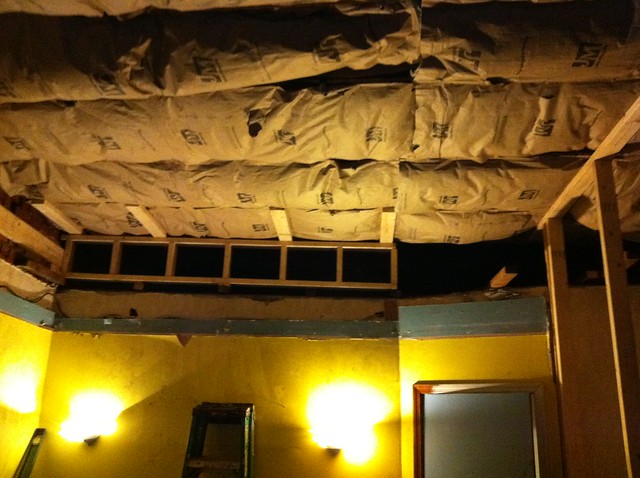
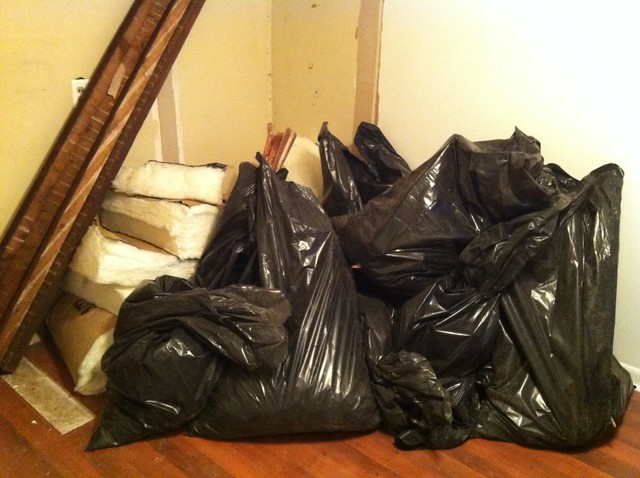
No more wires. No more pipes! Just insulation, and lots of garbage bags.

Foreman Ox approves of our progress. (He’s shedding! Such a big boy.)

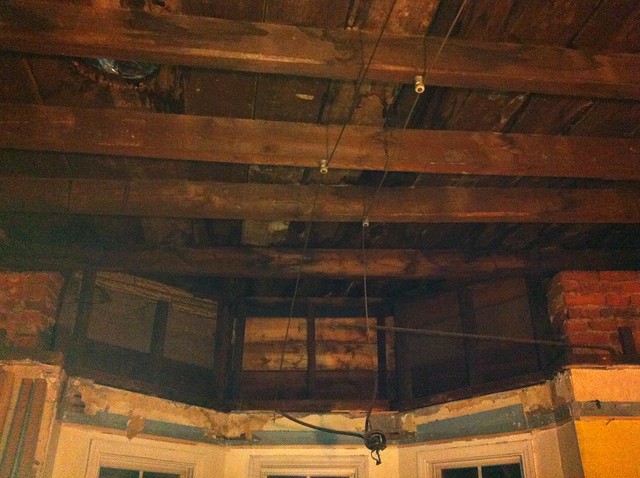
Wanna see my roof?

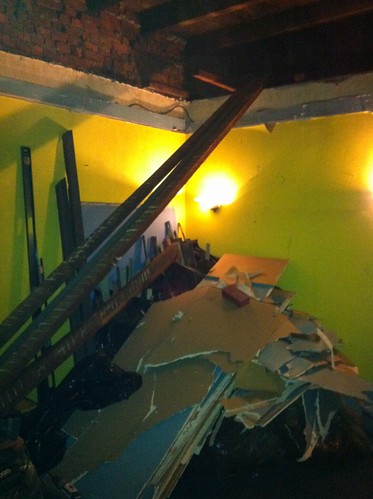
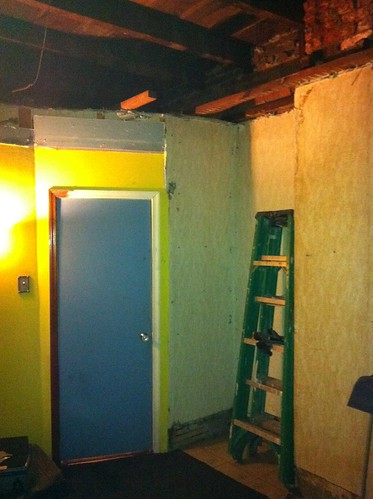
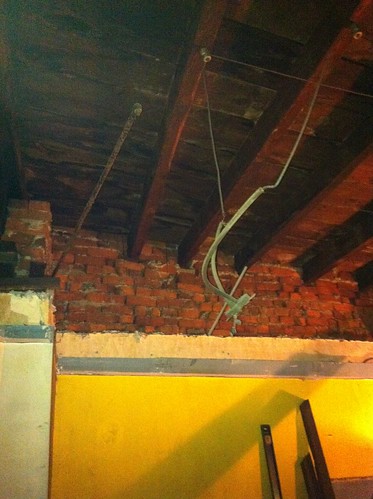
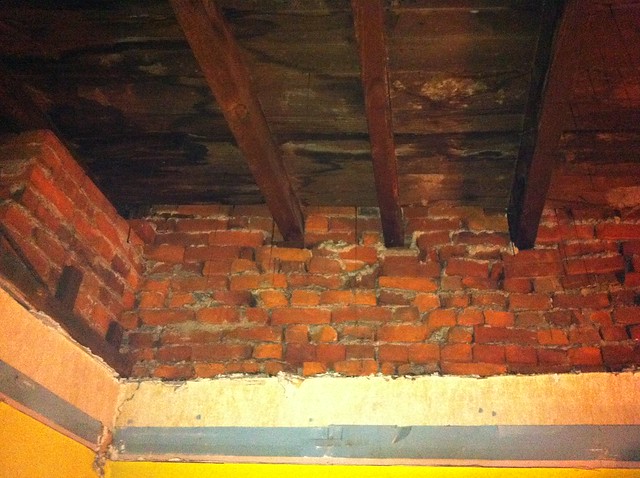
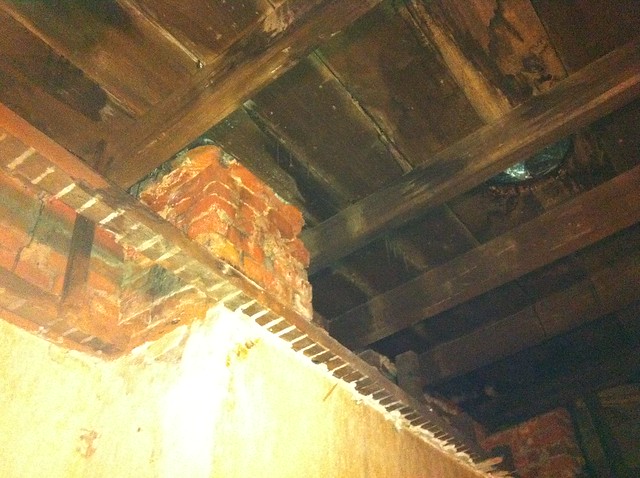
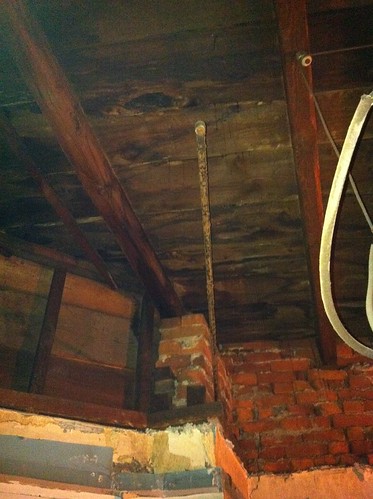
The contractors stopped by today to demonstrate how a proper demolition is done. Here are the results, as documented by a crappy cell phone camera (don’t ask where my real camera’s battery recharger is right now):

Beams! Ladders! Piles of debris!

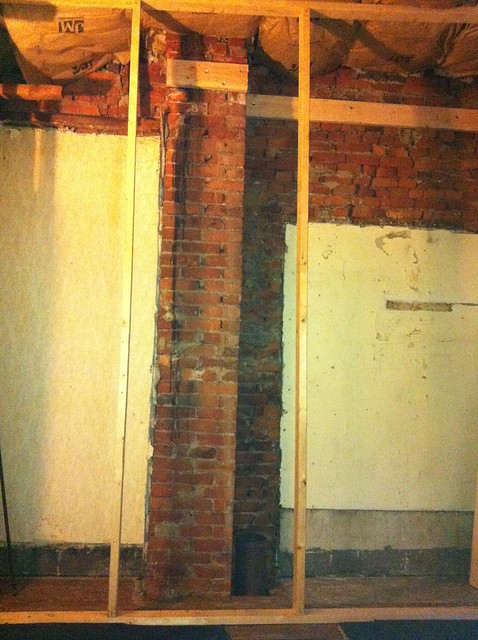
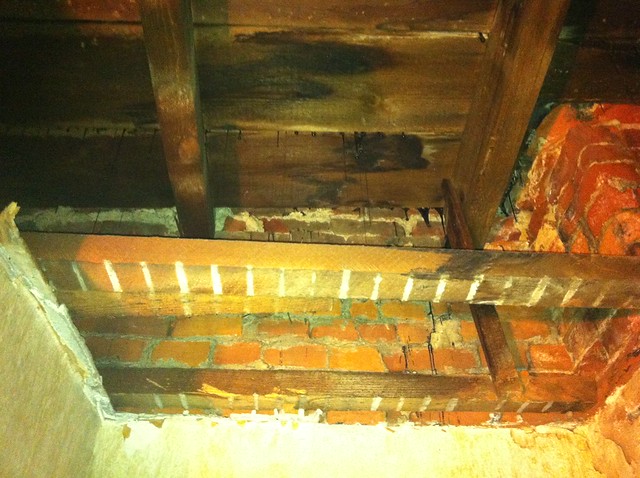
Ancient wiring! An old pipe from a gas light…?

Bricks! The Black Oil*! That pesky hole in the roof!

You get the idea. It’s freezing in the room, and it smells so strongly of tar that I wondered if I were about to be feathered as I retreated to my dining room dorm.

The contractors, at least, are remarkably clean. My carpet is spotless.

*I watched too much X-Files as a kid, I know. My dribbling roof tar is probably not an alien virus. Probably.

It’s 90 degrees; why not work on the fireplace?

I first decided to reclaim some space in my master bedroom by converting my wood-burning stove to gas, eliminating the need for the giant exhaust pipe running through the bedroom, back in September. The project didn’t get off the ground before winter came. And my bedroom has looked like this ever since:

Not cute. Not at all.

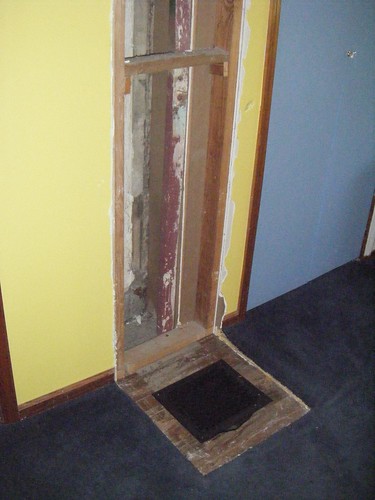
Today I finally got some guys in here to rip that whole mess out.

See ya later, pipe!

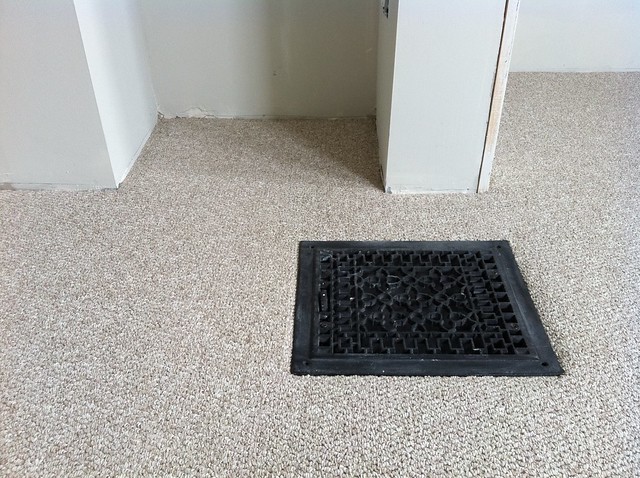
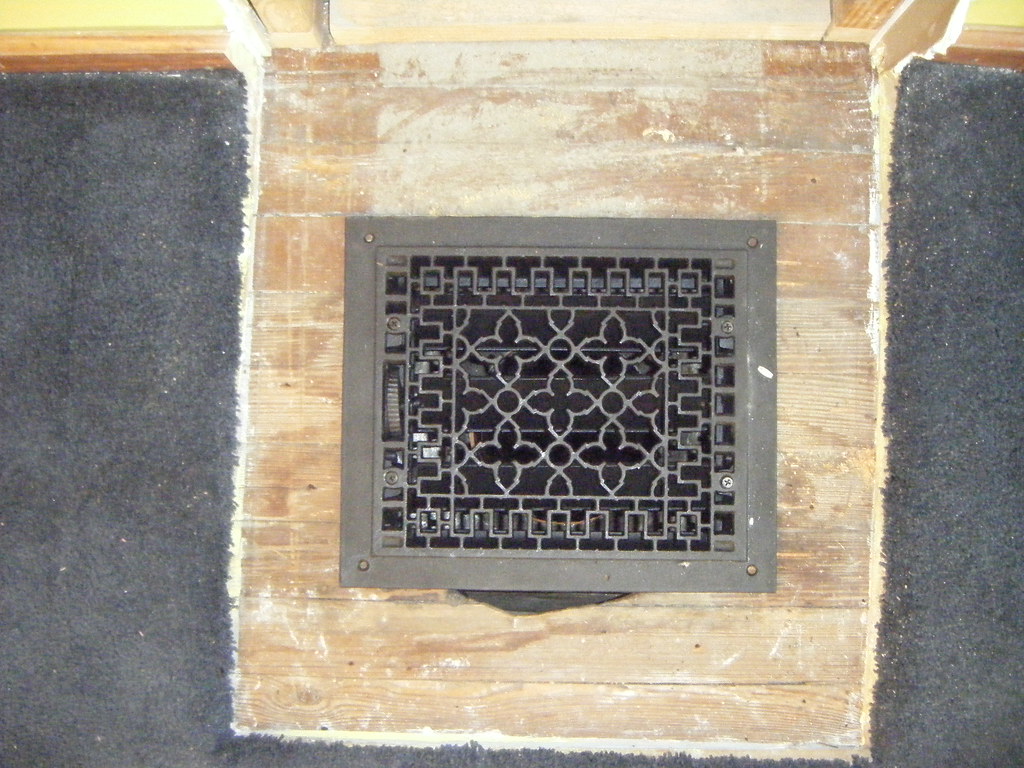
The hole in the floor is now covered with this nice vent, which will help control the flow of hot air from the gas stove in the living room below. And the hole in the ceiling, you may ask? Let’s pretend that doesn’t exist for now.

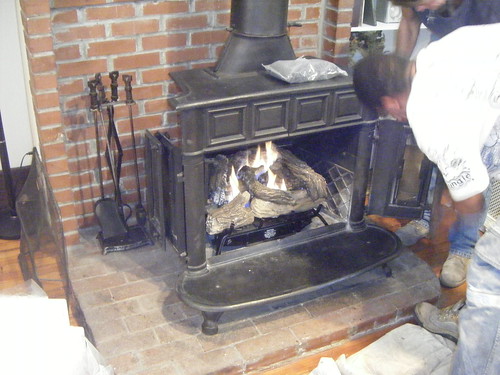
The guys tested the stove and it looks like it’s going to be nice and cozy when winter rolls around again. The fire is relatively realistic; the blue glow of the gas flames is mostly hidden within the stack of “firewood,” leaving the little yellow bits happily flickering away.

But here’s the thing I’m most excited about: now, instead of cramming my bed in a corner, there’s enough space to treat this room like a real master bed!

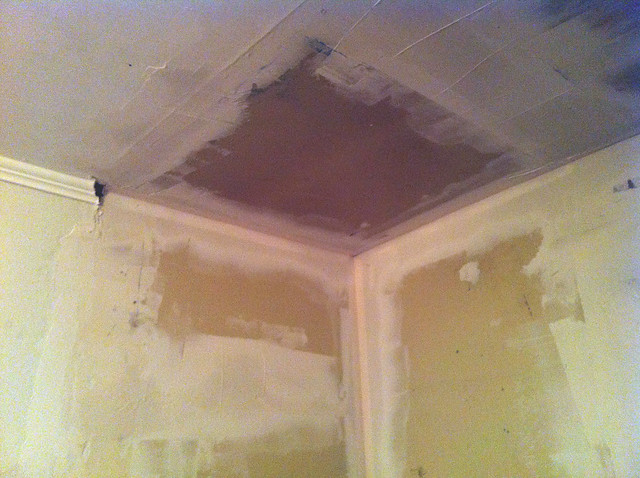
Excuse the yellow paint. That’s going to get fixed. Right after I fix ceiling and the hole in the wall, and right before I re-carpet.

I need to start accepting donations.