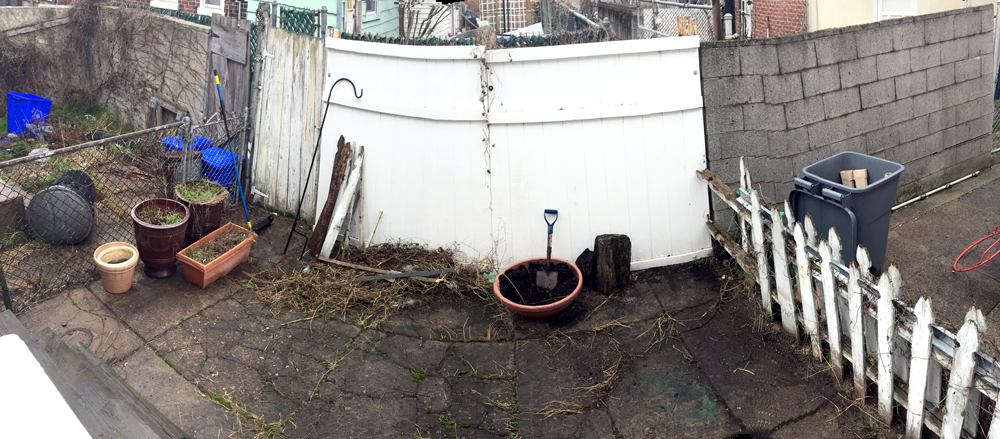
It’s been 55 days since I declared the start of Project Back Yard, Take 2. I had hoped to be sipping mojitos out there by June, and you know what? That is exactly what I did last night. So although it was a helluva lot of work and construction has been consuming all my leftover energy, I am calling this project a success. Here’s a look back at an 8-week, low budget revamp of this tiny rowhome “yard.”
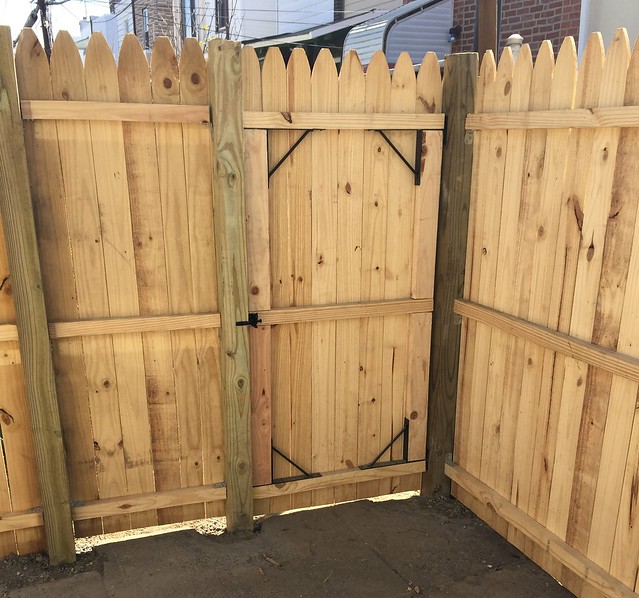
Step 1: The fence
This was the most important part of the job, and one I couldn’t pull off myself. I needed a good contractor. My initial round of googling resulted in a guy coming to my house and commenting that he “couldn’t leave his equipment unattended in this neighborhood,” but promising he’d email me a quote. Stop me if you’ve heard this one before. He never answered his email or phone again.
Can I rant here for a sec? People. Port Richmond is not dangerous. It’s not trendy, that’s for damn sure, but there’s absolutely no reason I should be hearing “why do you live here??” from so many of my contractors. A) It’s flat-out unprofessional, and B) I’m paying you to install a fence, not review my life decisions. If you have concerns about my neighbors who work as plumbers and coach little league, do us all a favor and keep them to yourself.
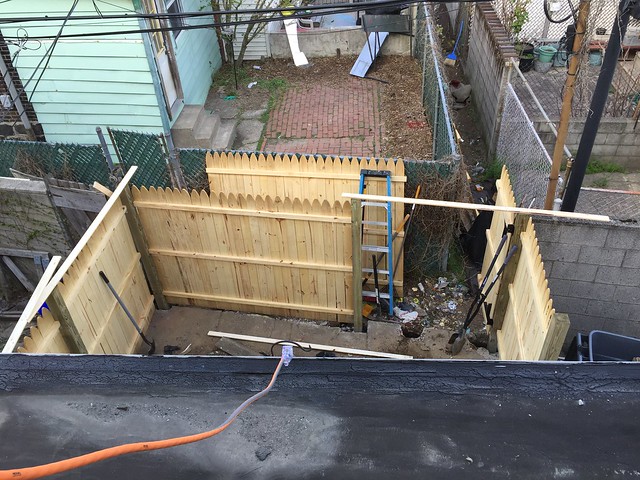
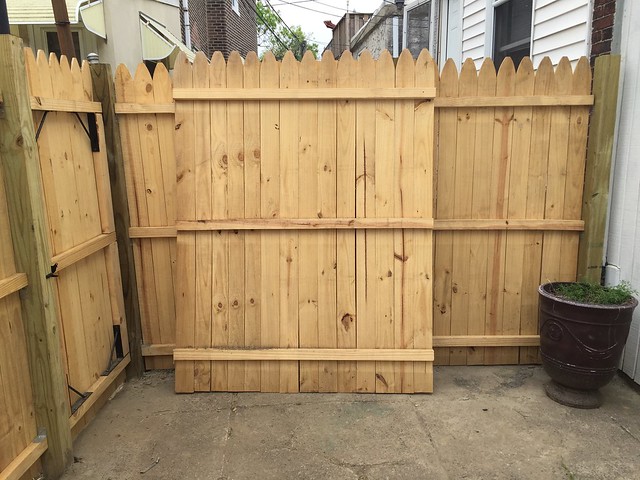
I eventually found my contractors on Thumbtack, a site where you post the work you need done and receive bids on the job. I only received one bid, so I can’t vouch for the site being a solution for every situation, but my guys came out next-day and had the fence up within a week.
They made me two cute little gates: one to hide the breezeway where my drain, trashcan and gardening equipment live, and they moved this one — the main one — away from the ideal planting locations. They also rebuilt my stairs for free.
Cost: $1,300
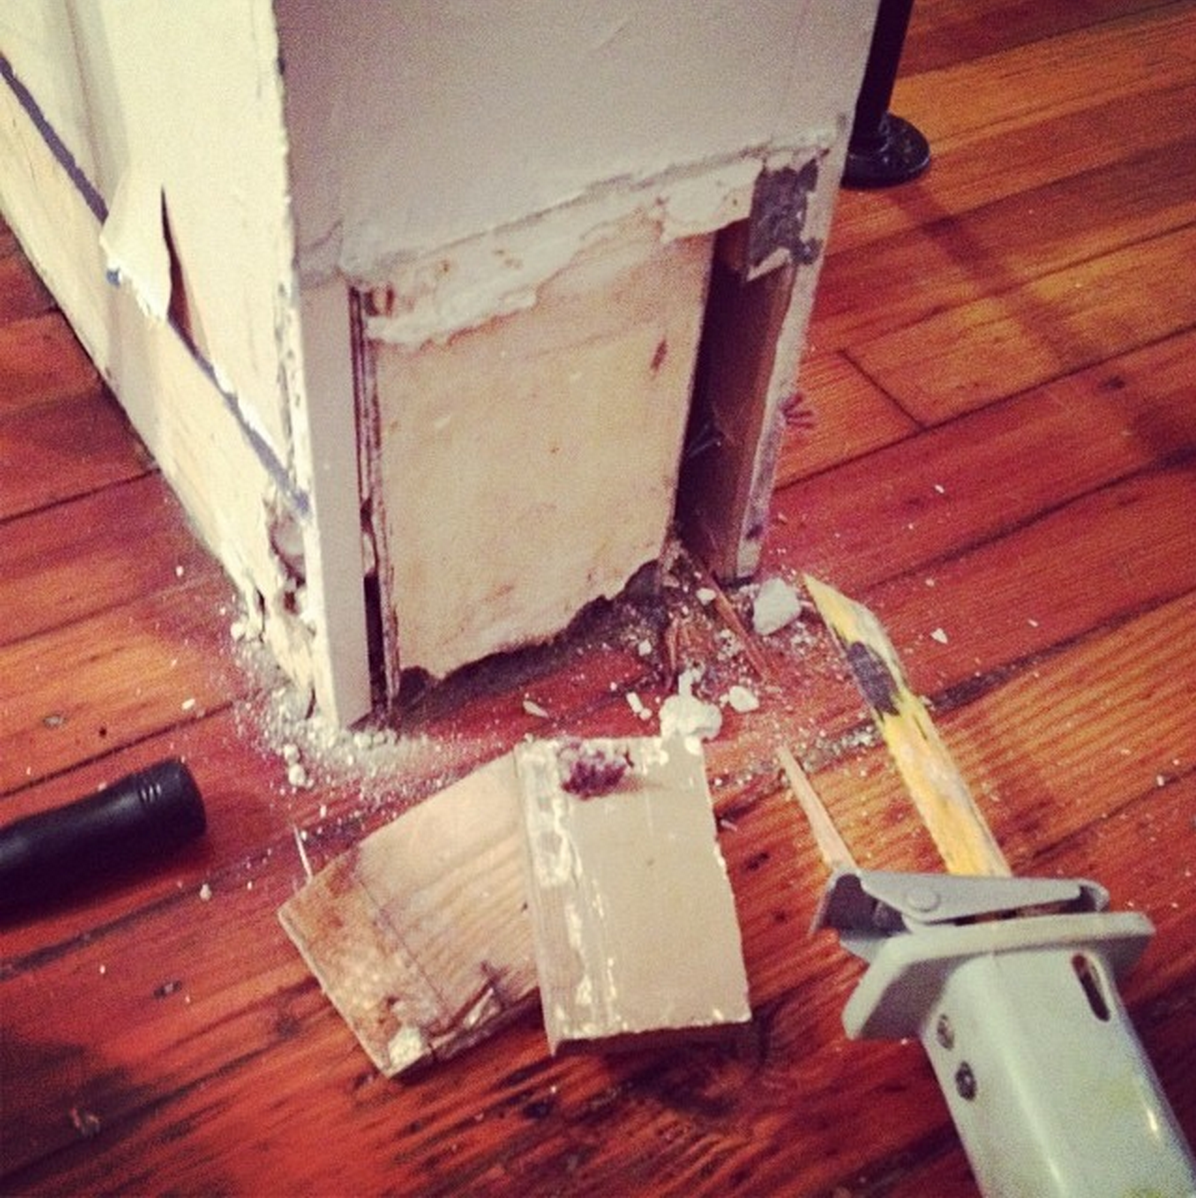
Step 2: Cement
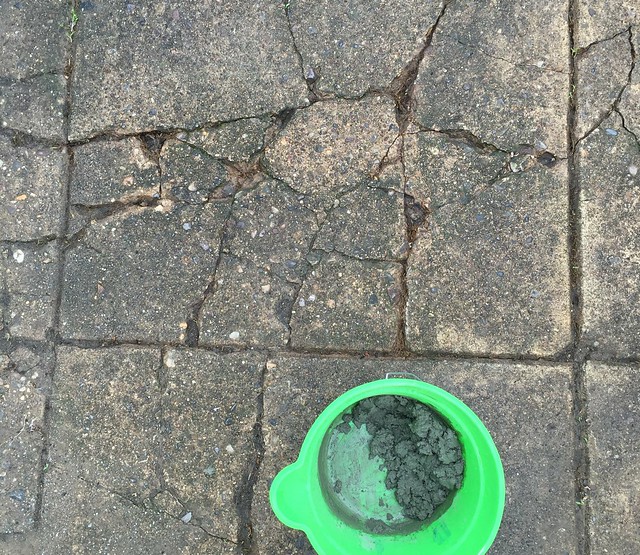
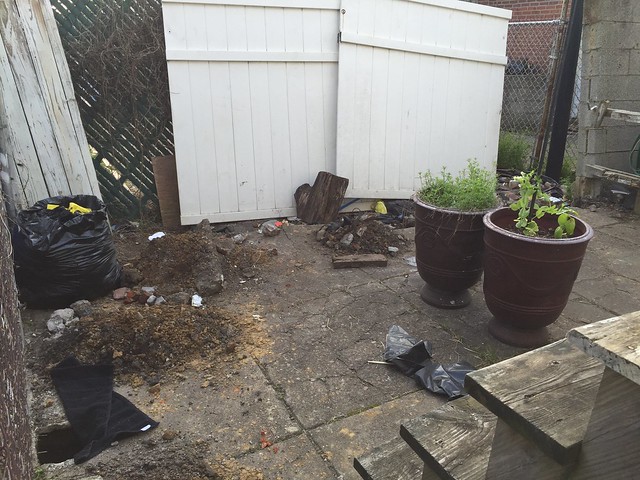
Step 2 was grueling. My existing concrete was level enough, but old and cracked and in all-around rough shape. It quickly became obvious that a patch job wasn’t going to cut it. So I decided to pour new cement over the existing slab.
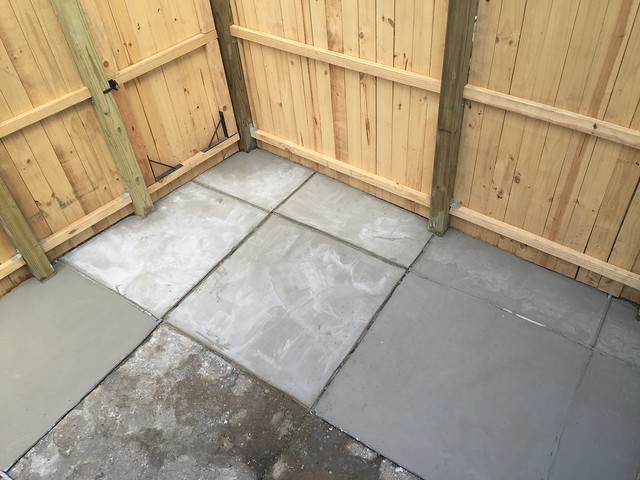
Did I know what I was doing? Nope. Do I know that this won’t eventually crack again? NOPE. It probably will. But this solution had two clear advantages for the time being: it was inexpensive, and it was DIYable. I went one square at a time, recreating the divisions in the original slab by bounding each square with foam strips until the concrete had cured a bit. Then I rounded any rough edges with a sureform.
A few weeks later, everything was dry enough to give it several coats of concrete stain.
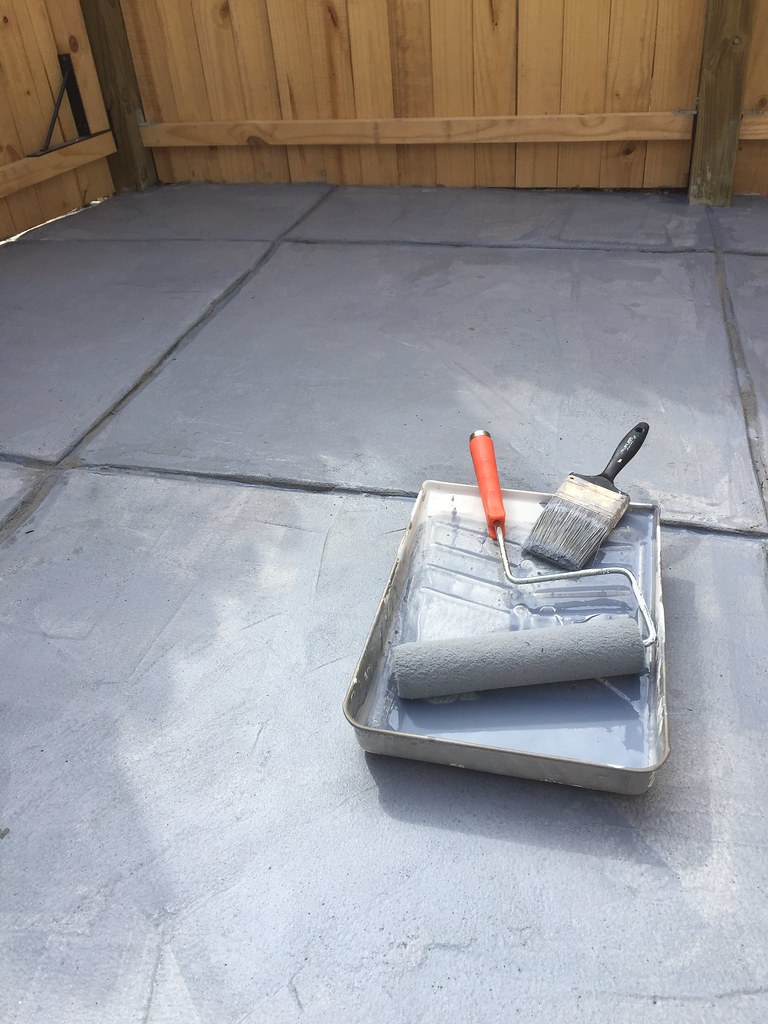
Cost: $165; lots of calories
Step 3: Planting

My original plan was to figure out a way to DIY a big planter box so I’d have a home for some perennials. And as luck would have it, the fence guys left a section of unused fencing that was just screaming for repurposing.
The process was super easy. I basically removed a few planks, sawed the rest of the sucker in half, trimmed off the ends at their cross braces, and used the free planks to build the sides. The boyfriend was here for plating day, so he assisted with installing a false bottom and lining the box with plastic sheeting. Cost: free. Although I did make us dinner.
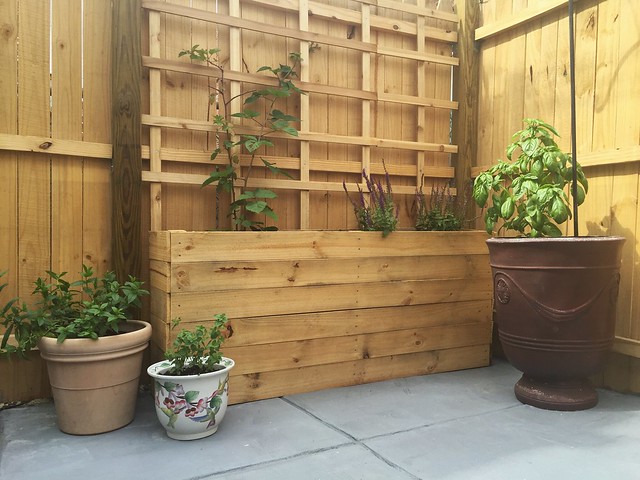
I wanted my planting choices to be economical: stuff I’d use, stuff that was inexpensive, and stuff that will hopefully come back next year. In the sunniest corner we planted blackberry vines, which should spread out nicely over the trellis we installed.
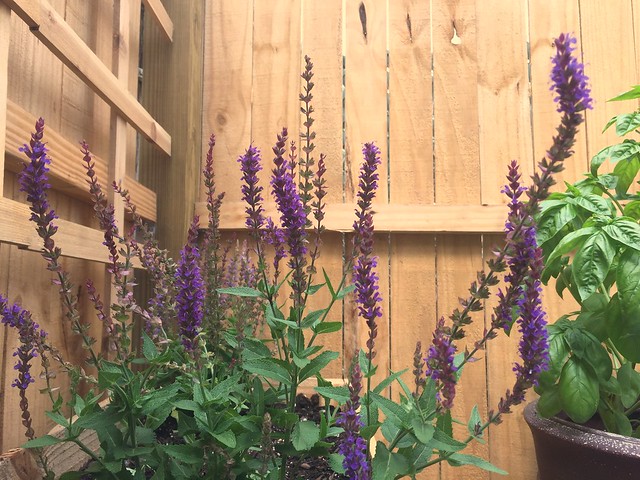
Also in the box: sage. It’s already attracting butterflies and bees.
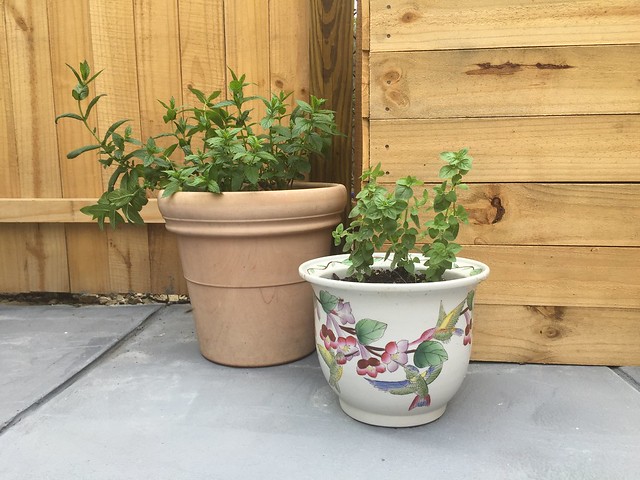
The mint is from my father’s garden. The oregano was one of the only things to re-seed itself in my previously-neglected yard.
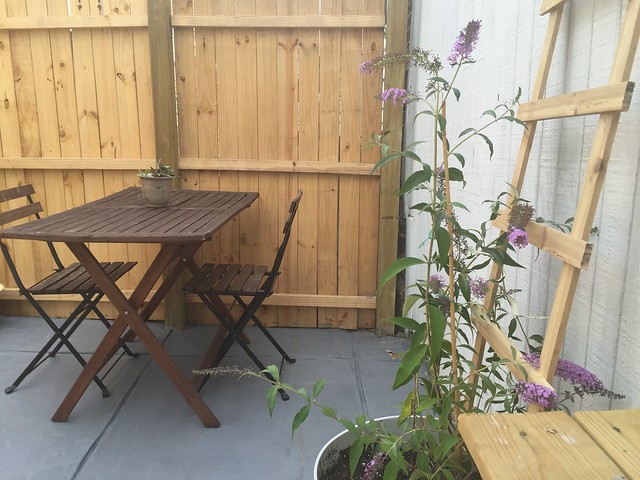
I wanted a buddleia, too. My mother always had one when we were kids, and I had one little section of trellis left to offer it some support as it grows in.
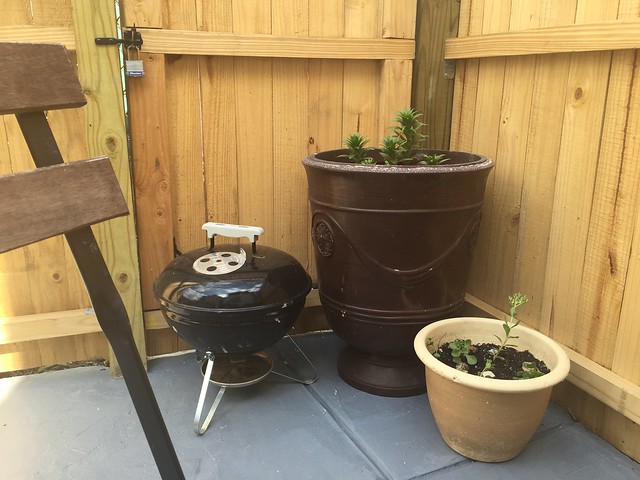
This corner is a bit of a catchall for whatever else was donated to the back yard makeover effort. The baby lillies are leftover bulbs from my father, again, and the sedum are cuttings from his garden as well.
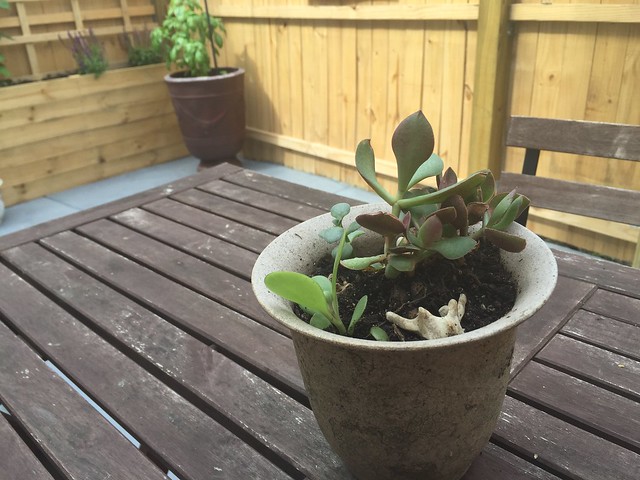
The succulent is a rescue from my office. I added tiny deer vertebrae because, you know. Why not?
Cost: $145
And there we have it!

Total cost: $1,610. Definitely worth it for a whole new usable space; it may be small, but there’s room enough for yoga and reading and dinners outside. I didn’t realize how much I missed having a little privacy back there until the fence went up. No offense, fellow Port Richmonders.