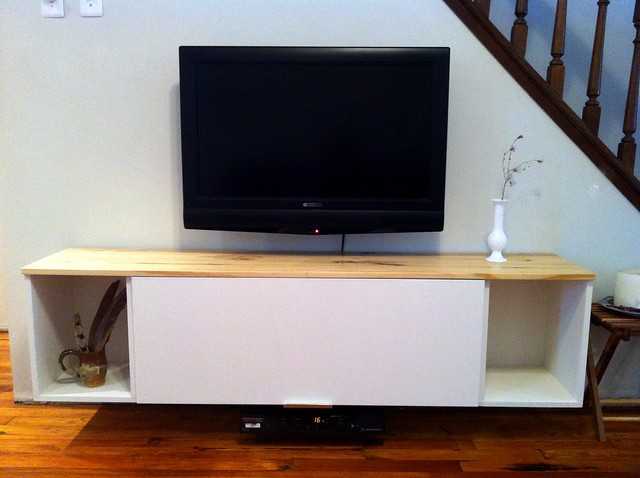
The TV unit project is finished with barbecuing time to spare! Before I get lost in a pitcher of margaritas, though, here’s a quick run-down of what I did (and why).
For those who missed yesterday’s post, the middle of the unit is a simple Ikea kitchen cabinet. It has one of those nifty hinges that eases the door closed for you. (Hung low to the ground like this it would probably make more sense for the door to open from the top instead of the bottom, but I’ve decided to refrain from messing with the hinge mechanism unless this configuration really starts to bother me.)
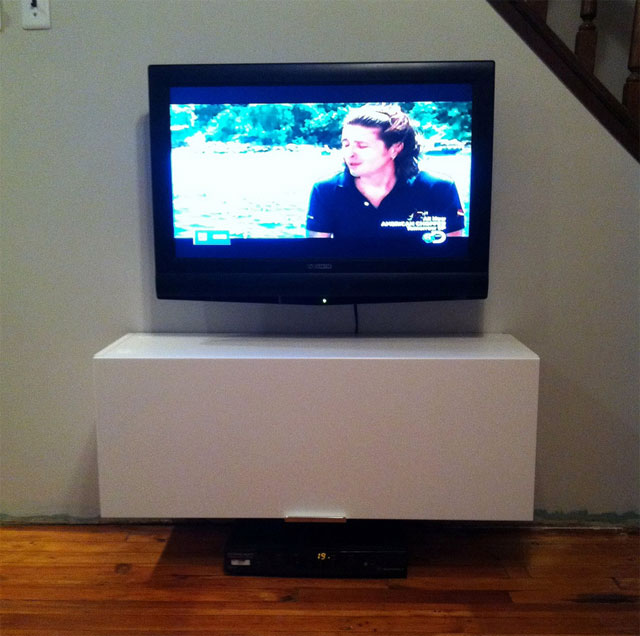
But a single cabinet wasn’t long enough to visually balance the TV, so I set about adding length. First, I built little 12″ x 14 3/8″ cubbies, for lack of a non-kindergarten term. Each has a bottom, a back, and two sides. Cutting the pieces took a while since 14 3/8″-width boards do not exist in the wild, and also because my miter saw only has a 12″ throat. So I made two cuts to chop each piece to length (flipping the board over after each cut), and two more cuts to trim the width.
Then I screwed all the faces together. This is probably the part where a real woodworker would countersink things and glue things and throw some biscuits or dowels in there, but me? Pre-drilling screw holes is about as fancy as I get. Luckily, that’s really all I needed to do in this case.
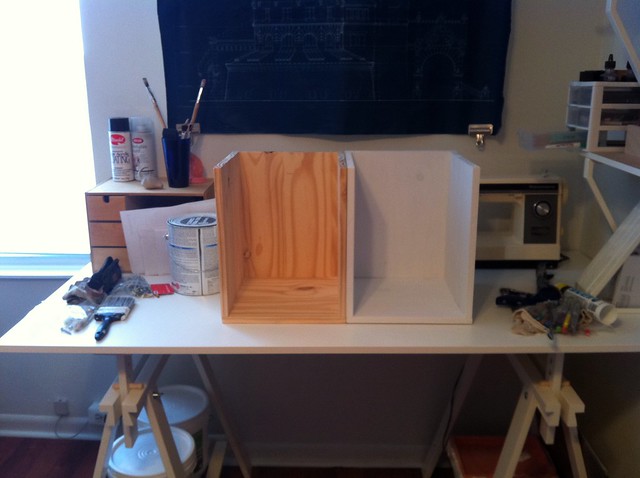
Then the cubbies got a good sanding, priming and painting. I attached them to the sides of the cabinet with more (non-countersunk, so sue me) screws. Satisfied with the additional two feet of length, it was then time to cover everything with a “nice” top.

I knew I wanted a funky, industrial-looking board to use as the top of the unit — in part because I like the aesthetic of rougher, knotted pieces, and in part because they’re so much cheaper than the unblemished stuff. In previous trips to Lowe’s I had spotted some pretty wild contenders:
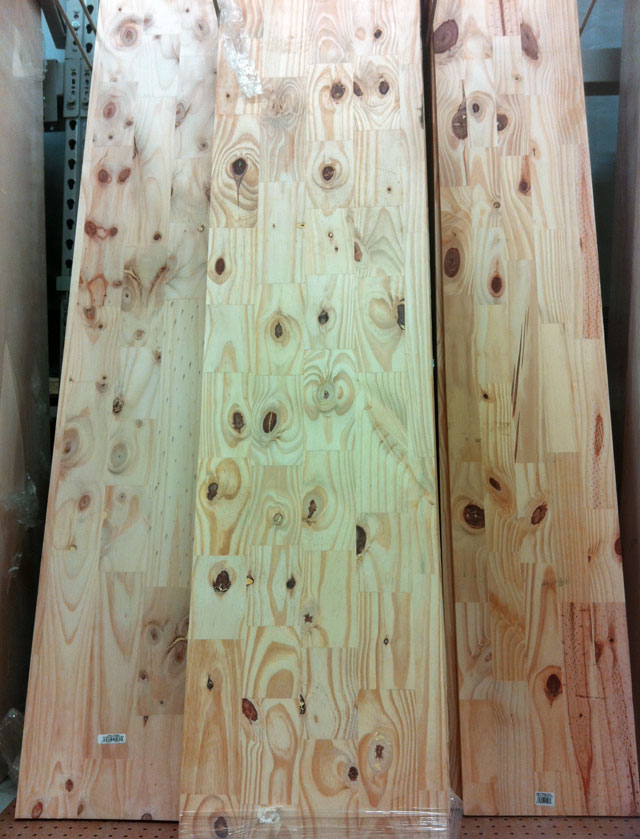
But with no project idea in mind for them at the time, I passed on buying any. And of course, they’re not in stock anymore. So I picked the next strangest board I could find.
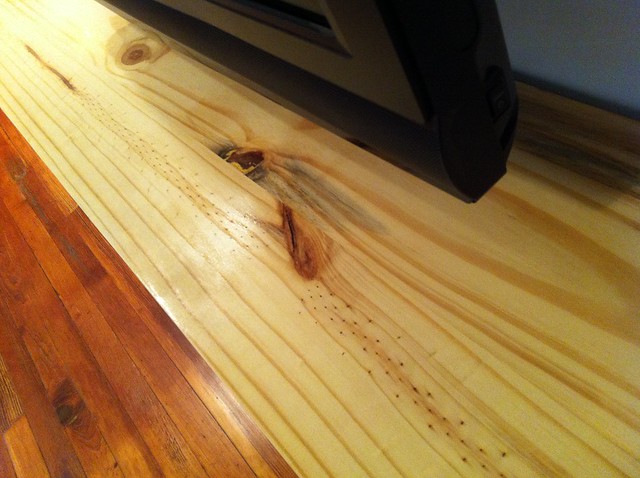
Did this tree have the chicken pox, or something? I love it.
My uniquely-diseased board got cut twice to length on the miter saw, and then I trimmed the width down with a jigsaw. After lots of sanding and few coats of polyurethane, it was ready to be attached to the cabinet via some hidden interior screws. And there you have it!
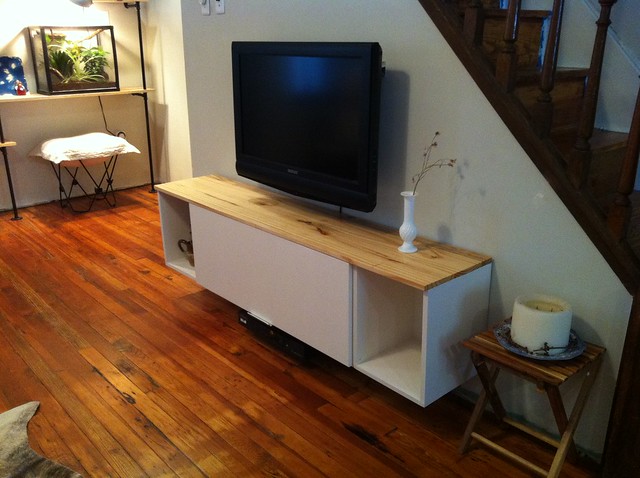
Obviously, this isn’t your traditional media unit. I’m not much of a TV person these days — I have four DVDs to my name and no A/V or gaming peripherals save for the cable box* — so my main goal here was creating general-purpose closed storage. I’m currently using this puppy to store pet supplies and a yoga mat. And art, of course — here’s a shoutout to Ruth, who gifted me the hand-thrown mug in the left cubby.
I knew on some level that I should try to ensure that the cable box would at least change channels when you pointed a remote in its general direction, but I refused to make concessions for that clunky sucker in the project’s design (seriously, when are cable boxes going to get smaller?). Instead, I suspended the box below the main cabinet with a couple of metal brackets. It’s still floating, but it has a few inches of ventilation room. I think it looks pretty good for an afterthought!
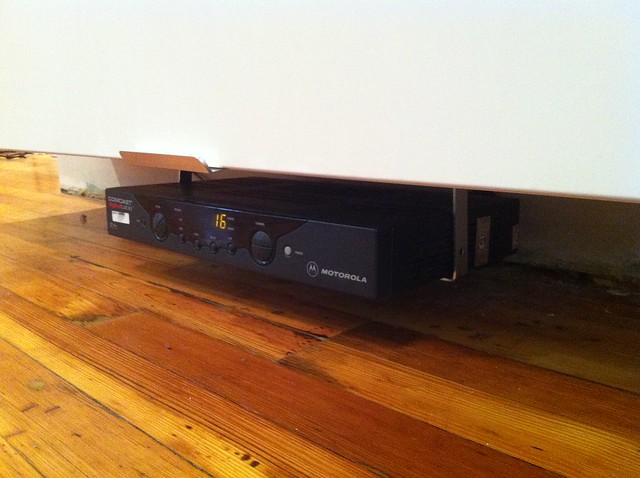
(No, I still don’t have baseboards. Shhhh.)
OK. Enough blogging, and enough power tools. It’s time to let the holiday weekend begin. Hope you’re all enjoying yours!
*My DVD player is built into the side of the TV, which saves me the grief of figuring out where to store one more thing.
Also, thanks go out to my Dad, who helped me move an outlet to get this project done.
One thought on “Weekend Project Wrap-up”
Comments are closed.