A limb came off one of the street trees near my house during our most recent snow storm. After walking past it few times on my way to the grocery store, I decided to cut a couple of branches off and take them home. The thicker parts were grey, with reddish tips indicating more recent growth — a nice combination of colors to accent my warm-grey living room.
At first I figured I’d put them in a vase, but they were just too cumbersome to walk around. My next thought was to mount them to the wall. A quick glance at my super-low ceilings nixed that idea — not enough space. (But hey, my heating bill is low, too, so I can’t complain.) I had to find a way to tame the tree.
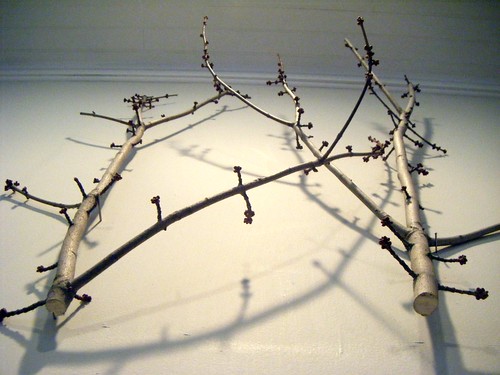
So I came up with this fun little project. Plan C: turn the branches into a 3-D “painting,” without the frame.
I rummaged through some old art supplies and picked a piece of illustration board to use as a size guide. Then I arranged a couple of branches on top, minding the composition the twigs were creating across the rectangle’s field.

With a trusted Sharpie, I marked the places where the branches hit the edges of the board. I then hacked across my Sharpie lines with a jeweler’s saw, mimicking the boundaries of the board.
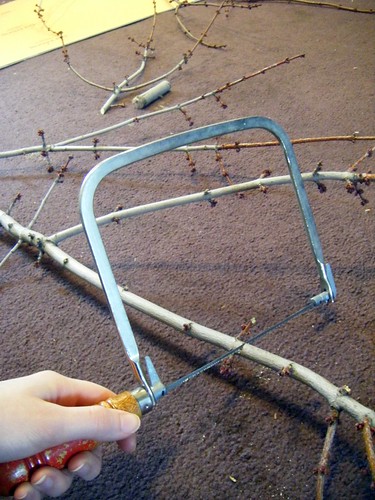
Now I had a couple of branches cut into a perfect rectangle. And a carpet covered in sawdust.
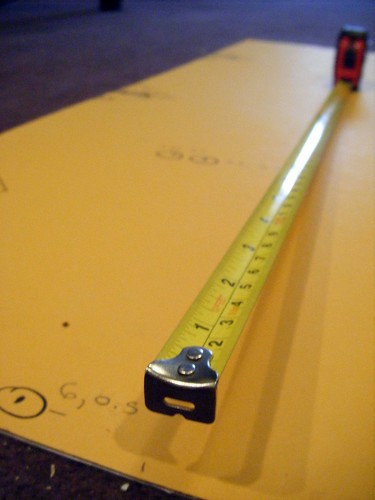
The tricky part of this project was deciding where to place a few finishing nails so that they might hold the branches to the walls. This involved some guesswork, a lot of fumbling with a measuring tape, and — [sad trombone noise here] — math. I choose some likely locations and marked their x and y coordinates, measuring from the bottom left corner of the board.
Transferring those locations to the wall was annoying, too, but it worked! With a bit of tweaking, I had my very own branch painting.

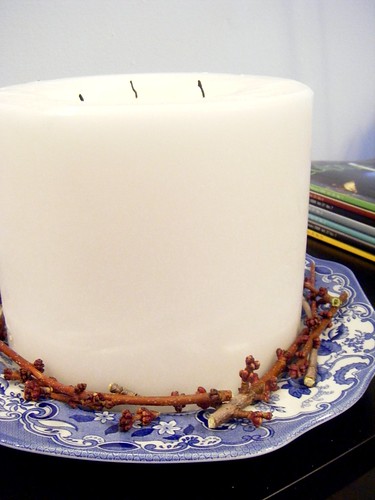
Extra twigs went here: