I’m snowed in! Unleash the torrent of blog posts!

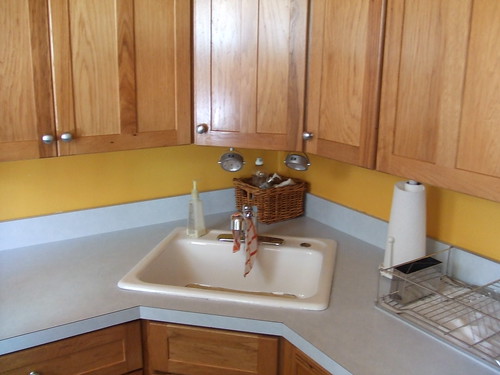
My open shelving project certainly improved the functionality of my kitchen, but something was still amiss.


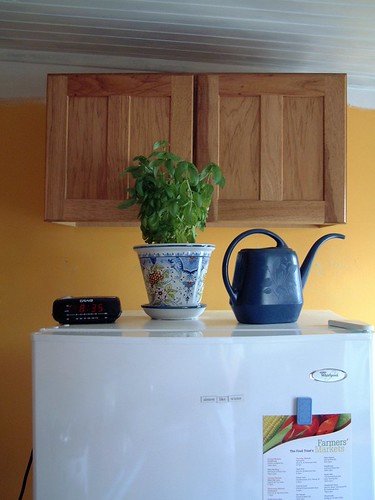
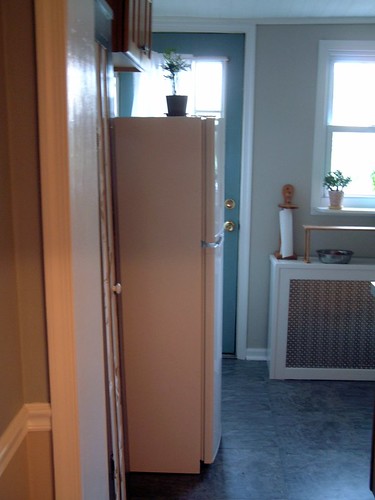
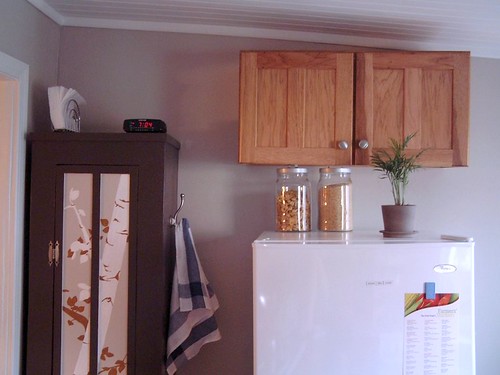
Oh yeah. The one cabinet on that other wall looks really silly. Not only is it off center above my fridge, but it was placed there with a much larger fridge in mind — a fact that I find confusing seeing as how I can barely walk around this unit, and it was the smallest I could buy.

So this wall got the same treatment as the one housing my dishes, and here are the results:

It’s my collection of gardening supplies! Right by the back door, just where I need them.

(Yes, I have a trowel hanging from a pot rack. I am unapologetic about it.)

Apologies for the radio silence. I’ve been traveling. Those of you who follow me on Twitter know what that’s like.

Anyway, I don’t have much of an update; I’ve been spending my weekend doing a little gardening and cooking up some fried green tomatoes. So easy, yet so awesome!

I am, however, about to embark on my next big project: a remodeling of my bedroom. Which looks something like this:

In a word: hideous. In two words: unbelievably hideous. I don’t know why I’ve lived with it like this for a full year. This particular picture of it was taken back in March, because I had anticipated I’d get around to painting it soon. Ha!

Better late than never, though.

I worked on the window trim this weekend, which involved tackling two problems:

  1. The windows are new and were retrofitted to the design of the house, leaving a big plastic border around each window to fill in the gaps between the new unit and the old frame.

  2. They were not installed at the same level. The one on the left is slightly lower than the middle window, which is slightly lower than the right one. At least if you’re judging by the ceiling. And you can’t help but judge by the ceiling when it hits the top of the right window and not the left!

So I’m doing my damnedest to re-cut the window trim in a way that conceals those flaws. And of course, a coat of white paint never hurts.

Master Plan for a Master Bedroom:

  1. Finish hanging the trim for the third window; caulk and prime it.

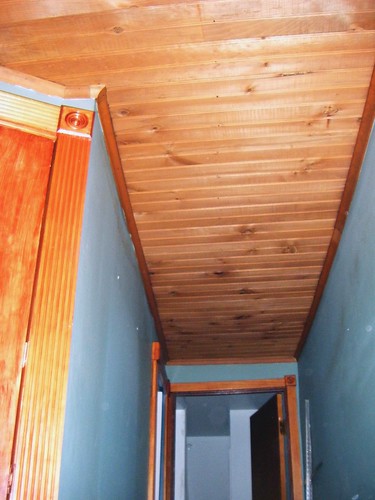
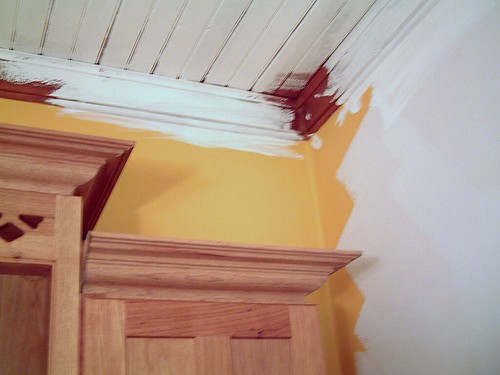
  2. Prime the rest of the room, including the wacky ceiling. Caulk wacky ceiling panels to their framework.

  3. Die, awnings! Die!

  4. Rip out the shelving systems in the two closets and insert something a little more aesthetically pleasing. My hope here is to eventually remove the closet doors and just frame the closets with pretty pattered curtains, as I think the bay window needs to remain curtain-less.

  5. Yank the light fixtures out and replace them with something that doesn’t look like Granny picked it up in the clearance section at Lowes.

  6. Install a shelf under the right-hand window for my makeup mirror.

  7. Reupholster and paint the trash-picked chair; give it a home under the new shelf.

  8. Pick a room color (pale gray-green?) and paint paint paint.

  9. Install rolling blinds in the bay window.

  10. Rip out the blue carpet. Install a new one in a minimalist neutral tan.

  11. Try to get my bedroom furniture to coordinate, somehow. Paint the bed? New hardware for the bureau? What to do with the bedside table I (also) trash-picked?

  12. Additions? A standing mirror, maybe? A little area rug?

That ought to keep me busy. For a couple of lifetimes.

Here’s a fun project that I started back in June and just managed to finish. The goal was to come up with some sort of mobile seating unit for my living room — something that I could use in front of the stove when I wanted a cozy seat by the fire, but would also be easily moved around the living room when I’m hosting guests. My thought was to create a low bench on coasters. But as with most of my grand ideas, I lacked a grand budget to get the job done. Enter…

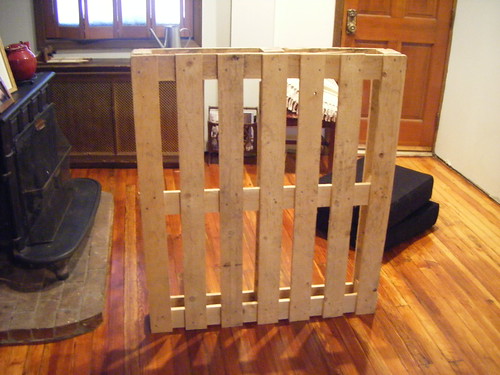
Shipping pallets! Now, the good people at Apartment Therapy will tell you that any furniture project involving shipping pallets reeks of low class desperation. And to that I say, “low class desperation” sums up my design aesthetic perfectly. Not everyone gets to afford the gently worn $900 mid-century modern ottoman, mmk? It’s either sit on the pallet or park your keister on the floor at my house.

My shipping pallet was found at a warehouse near my office. I brought it home (it just barely fit in my trunk!) and started off the project by sawing it in half.

Each half got hit with a palm sander for a bit. Then I stacked the halves on top of each other, inserted some dowels at each corner and a few extra blocks of wood for support, and glued the two layers together. After that all the pallet needed was some flat black spray paint and a few locking wheels.

The only real expense to the project was the foam needed for seat cushions. I decided to order cushions in the same size as the ones on my couch, so I could share slipcovers between the two pieces. Two extra cushions plus shipping cost about $50. I had already ordered a new set of slipcovers for the couch (thanks to Bemz, my sofa is now aubergine!), and as soon as they came I switched out the old covers and slapped them on the new bench cushions to finish up the project.

The afghan was crocheted by my mom (who needs a blog, or maybe an Etsy store). And there you have it! Desperation chic.

Housiversary

Happy one year anniversary, house! On this day last year, after making it through closing, I found myself alone in your living room, sitting on some funky-smelling purple carpet, a wave of terror rushing over me. Just how much time, money and effort it would take to make you look anything less than hideous had very suddenly become clear. The task was daunting. No, it was paralyzing.

But that was a year ago. A “one day at a time, one project at a time” attitude has gotten us surprisingly far since then. And I think we should celebrate with… an enormous image post!

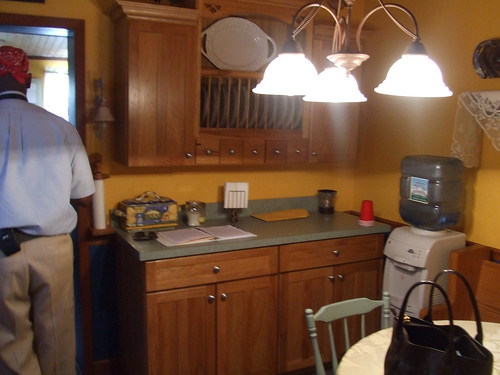
First, the kitchen:

That was then, this is now:

The dining room back then:

I see you, mom and dad!

And now:

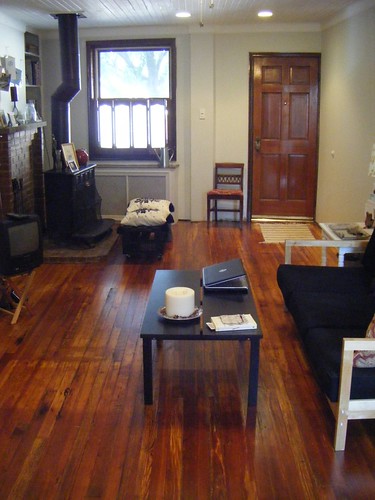
And my proudest accomplishment so far, the living room:

And today:

Well, we don’t yet have baseboards or rugs, and window treatments are something of a dream. But now I have confidence that we’ll get there. Maybe next year, even.

(Just don’t ask me about the second floor ;)

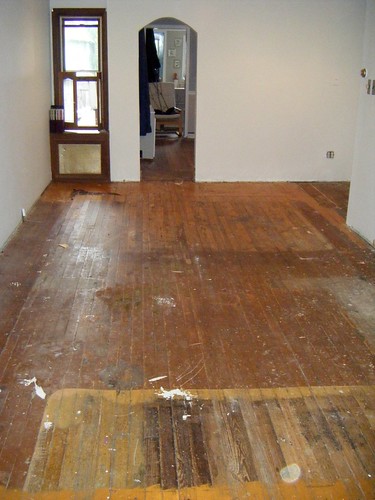
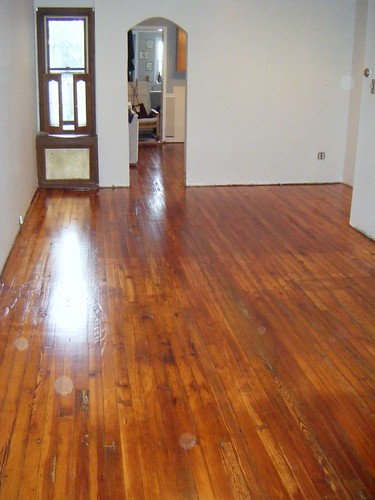
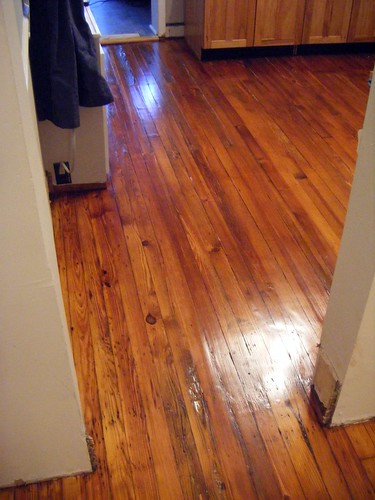
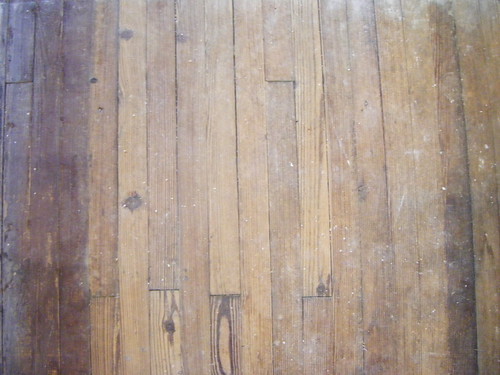
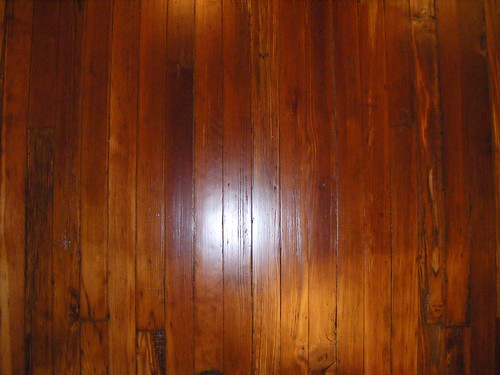
I had been collecting a couple of quotes to have my floors refinished, planning to have the project done by early July. But I got a surprise last Thursday (on my birthday!) when the guy I picked for the job told me he wanted to start Friday morning at 8:30 am. So my 25th b-day was unexpectedly spent lugging my living room furniture into the basement. And then banishing myself from the house until yesterday.

It was a stressful weekend, for that reason any many others, but I can at least share some results!

………..Before………...….vs….……..After

More here!

It’s the long-awaited craft room post! My sister used this room as a painting studio for a few months, and we gave it a coat of white primer for her. So this is what I was starting from:
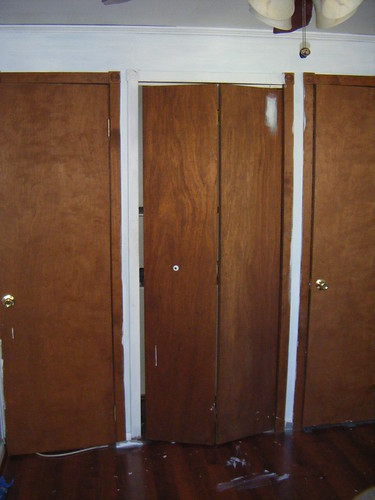
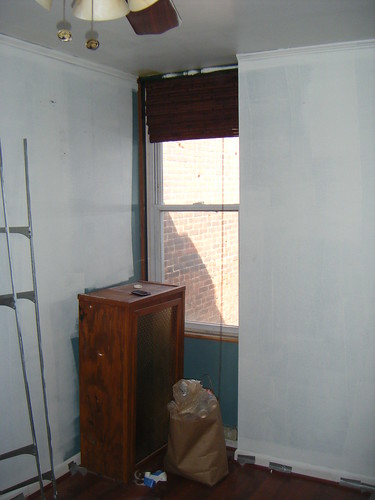
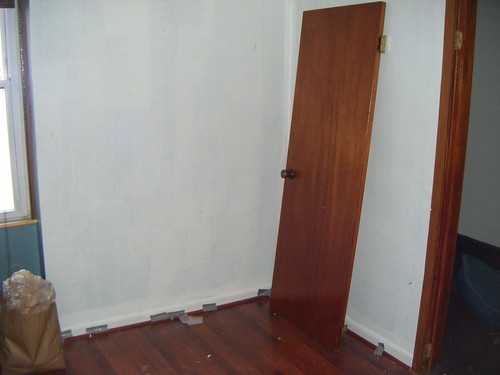
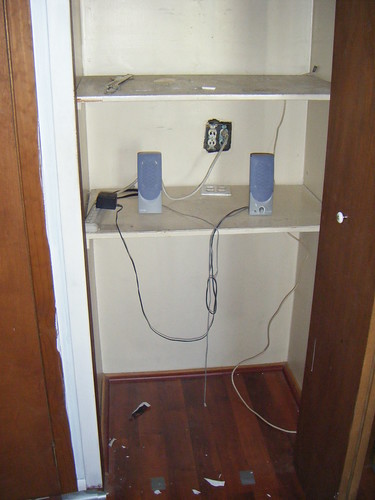
Which is already better than the real “before” pictures.

And now for “after!”:
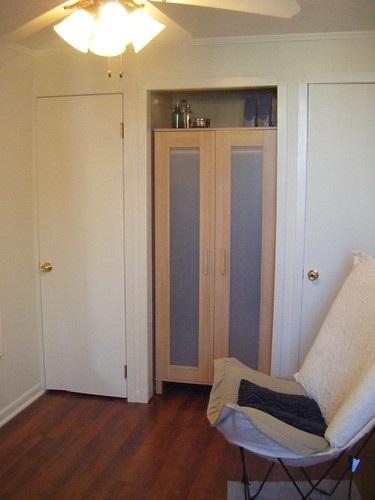


Lots of major changes. For starters, I removed the door to the middle closet and set my IKEA wardrobe in the space… which was technically 3/8 of an inch too tight. To get the wardrobe past the door jamb I had to take the entire thing apart and reassemble it in place, minus the back panel. But the missing back panel, as it turns out, was the only thing keeping the wardrobe from leaning to one side like a parallelogram from some geometry proof come to life. So I had to anchor the wardrobe’s side panels straight into the closet walls with some 4″ screws. Too much work, but I like the result! Seeing the space behind the furniture makes the room look a bit bigger.
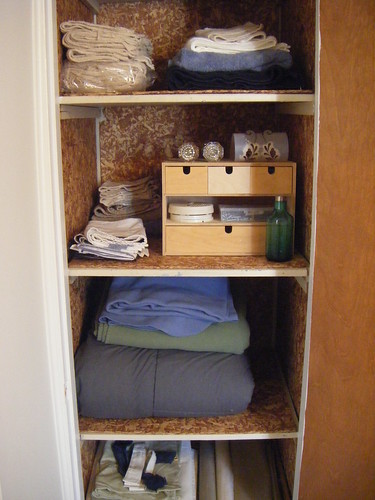
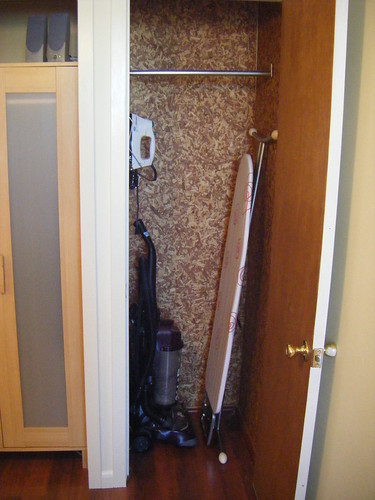

Both remaining closets are lined with cedar panels, which makes for a happy smelling room. The left closet holds linens and I fitted the right one with an iron hanger to go with my brand new full size iron. Weee! I don’t have to do laundry on the floor anymore!
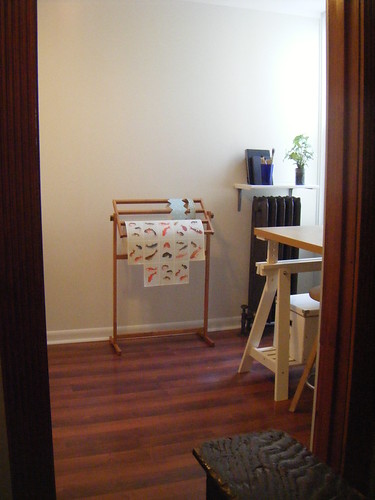


To open things up a bit more, I completely removed the door separating the craft room from the hallway. So it’s sort of like a second floor parlor. The room’s window helps light up the whole hallway now, which is a big improvement by itself!


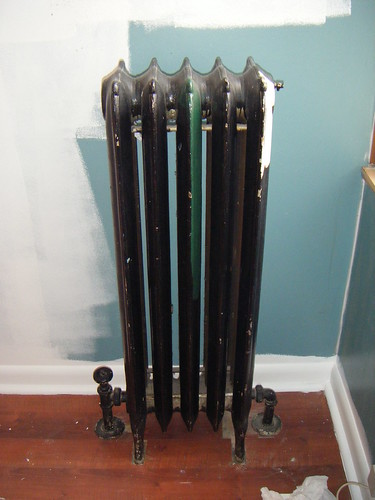
I decided that the old radiator cover took up too much precious window space, so I got rid of it. The radiator itself received a new coat of spray paint to pretty it up a bit. The hardest part was removing decades of dust accumulation from between the fins. The new “shelf” above it is secretly a defective cabinet door from IKEA’s as-is section: $2.99.
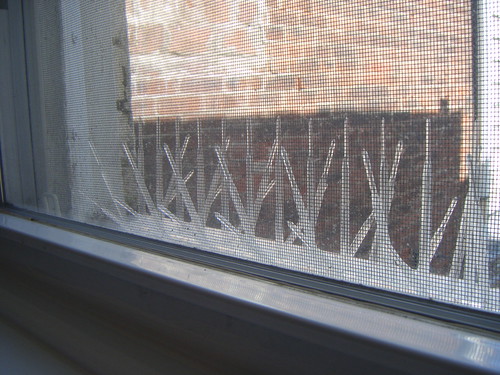


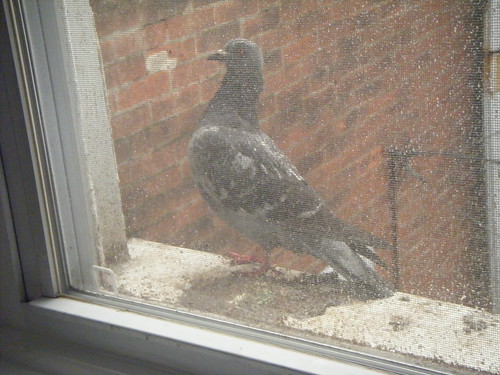
You know how they say dogs instinctively know not to crap where they sleep? Pigeons never got that memo. I like birds, but after months of watching this one particular rat-with-wings happily dozing in the sunlight on my windowsill while perched atop a mountain of its own feces — a mountain that I had to
remove with a chisel — I snapped. Anti-bird spikes it is. I briefly considered disguising them in a window planter, but I’m sure the offending bird would figure out how to sit on it somehow.
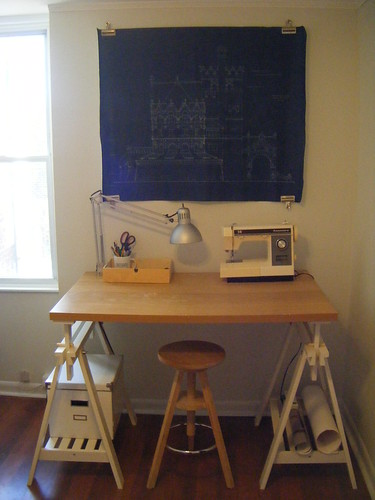


Over the work table I hung this old blueprint of the library at Penn’s campus. At my last job I worked out of this funky basement office space that used to house an architecture firm, and they left this drawing behind when they moved out. It’s beat up and I’m sure I’ll need to frame it someday before it falls apart, but I dig it in its temporary home.


This chair was the craft room’s first project. I’ve owned it for years, and at some point its seat had an unfortunate run-in with an exploded pen. Even after a good bleaching it was just too dirty-looking to sit on, but I couldn’t bring myself to chuck it. So after months of keeping the chair in hiding I finally took the seams apart and recreated the seat with some contrasting IKEA fabric. It
almost looks intentional, right?

So that’s it! That’s why no one has seen my face in weeks, and if they have it’s been speckled with flecks of off-white paint. I will now attempt to rejoin society.

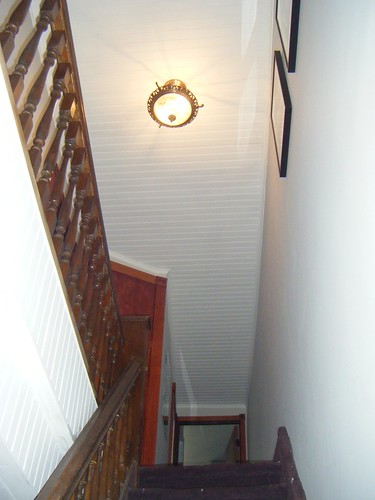
Work on the house continues. In this month’s installment, the upstairs hallway!

Before:

After:

The carpet still needs to be yanked, but that’s a project for another day.

Finally, the last green-blue wall has been covered.

I also got to incorporate my first pieces of actual art into this home renovation project. These are drawings I made for a show at Lincoln Financial Field a year or two ago.

Home improvements

Wow, thanks for the comments on the last few posts, guys! Blogger is supposed to e-mail me when I get one, but I guess it hasn’t been… so I just noticed them yesterday. Now I feel all warm and fuzzy. :)

Anyway, I’m sorry that my blog has become the house’s blog. I wish I had something more cerebral to write about, but my brain can only think in paint chips right now. This might change when I get the living room finished… but that’s a monster of a project and I’m not anticipating its completion until (possibly) winter. I can share pictures of what I’ve finished so far, though!


Dining room, BEFORE:

Dining Room, DURING:

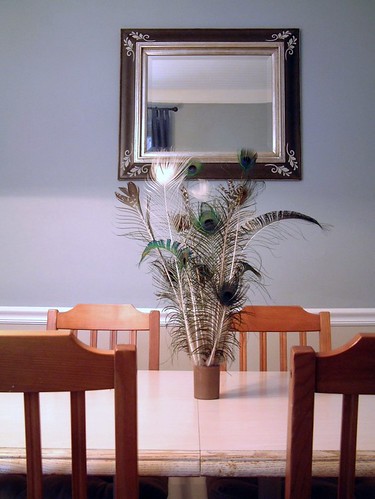
Dining Room, AFTER:

Kitchen, BEFORE:

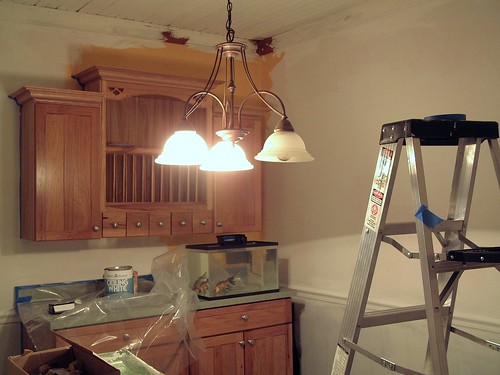
Kitchen, DURING:

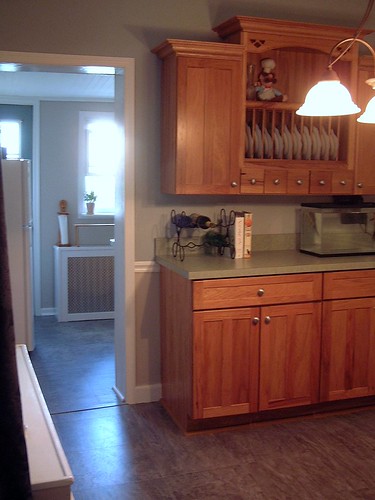
Kitchen, AFTER: